
How to Design and Build a Studio-Style Architecture Model Using Building Block Sets
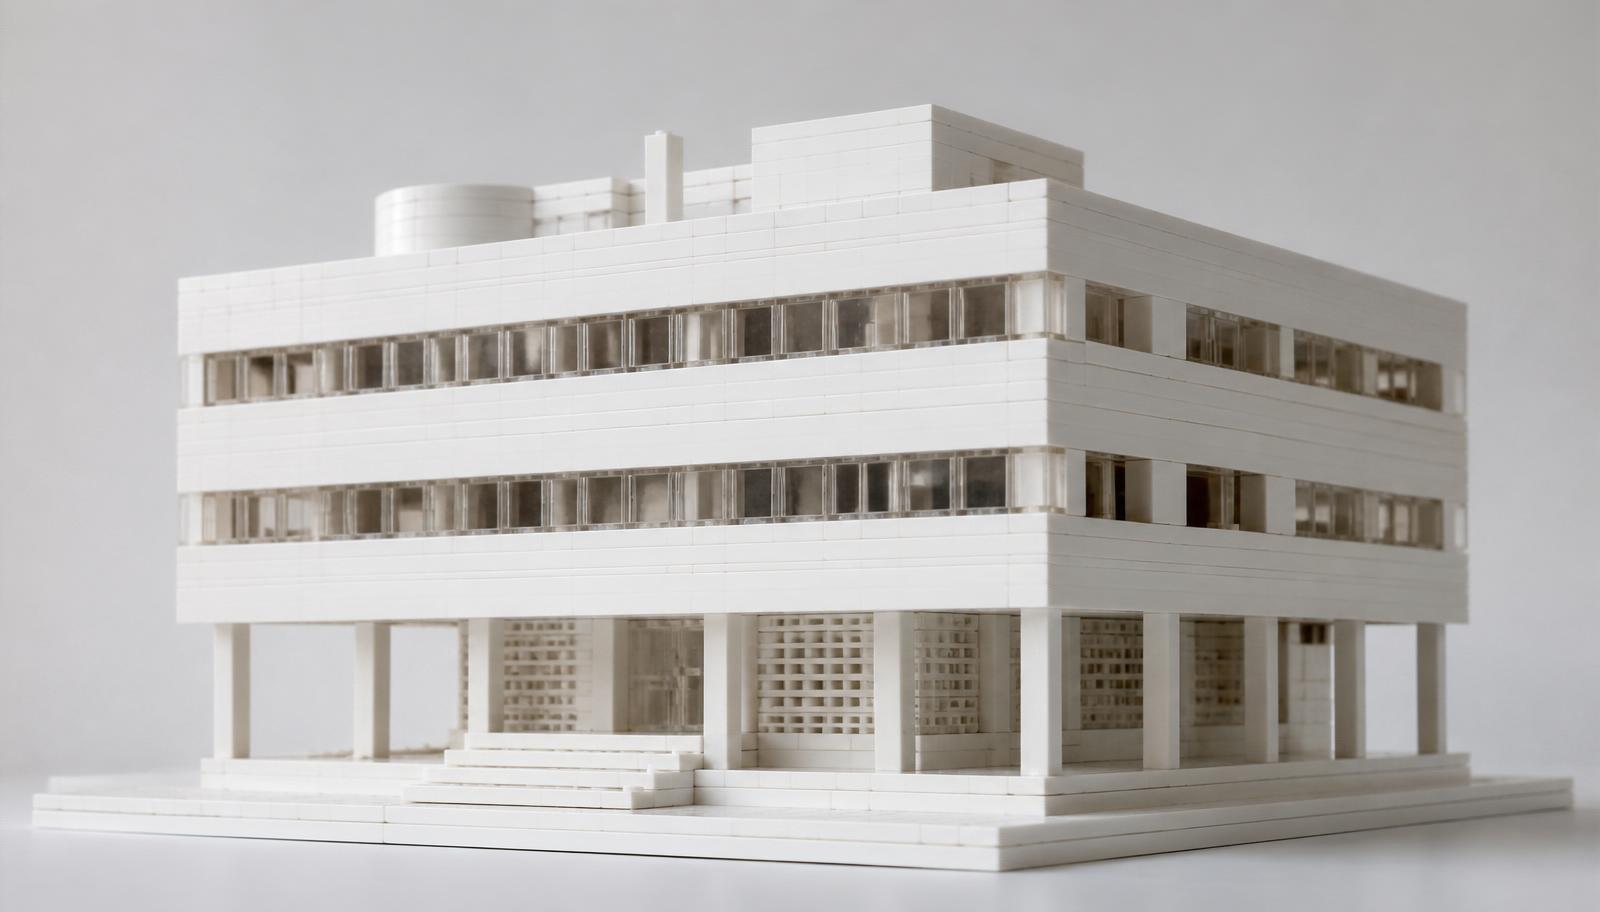
Great architecture starts with a single idea. A clean line. A bold shape. A space you want to live in. Now you can turn that idea into a physical model on your desk, built brick by brick. A studio building blocks set lego architecture model gives adult builders a way to design, create, and display real architectural forms at home.
This guide walks you through the full process. From picking your first set to lighting the final facade. You will learn how to plan a studio-style build, master the techniques that make models look sharp, and display your work like a gallery piece. No design degree needed. Just a flat table and a plan.
Here are your three takeaways:
- How to choose the right set for architectural modeling
- Building techniques that give clean, professional results
- Display and customization ideas that turn a model into art
Let's design something.
Why Studio-Style Architecture Models Are Worth Building
Architecture models are a different kind of build. Most themed sets tell you a story. Studio-style models let you design one. You control the form, the scale, and the finish.
This appeals to a specific builder. Adults in IT, engineering, and design. People who think in structure and proportion. A model like this is part hobby, part creative outlet, part desk sculpture.
Here is what makes the genre special.
It rewards precision. Straight lines. Level floors. Clean facades. Getting these right is the whole game.
It teaches design thinking. You learn scale, balance, and negative space. The same skills real architects use — many overlap with the ideas in our LEGO building blocks of architecture guide.
It looks incredible on display. A finished model in a modern home reads as art, not as a toy.
BrickHobby offers architecture-focused sets built for this kind of work. Browse the full architecture range in our Architecture & Landmarks category to see piece counts, scale ratios, and difficulty ratings before you commit.
Step 1: Choose the Right Set for Architectural Modeling
Not every set suits architecture work. Pick with your design goal in mind.
Match the Piece Count to Your Ambition
Piece count tells you scale and detail.
- Under 1,000 pieces. A single structure. A modern house or a small facade. Done in an evening.
- 1,000 to 3,000 pieces. A detailed building with interior floors. A solid weekend project.
- 3,000 pieces and up. A full studio-scale model. Multiple structures, landscaping, or a tall tower with real depth.
Check the Difficulty Rating
Most quality sets print a rating from 1 to 5 on the box. Beginners should start at 1 or 2. Experienced builders can chase the 4s and 5s. A studio building blocks set lego architecture kit often sits in the 3 to 5 range because clean architectural detail takes precise technique.
Look at Color Range and Piece Variety
Architecture lives on subtle color. Look for sets with:
- Neutral tones: sand, gray, white, tan
- Flat tiles for smooth surfaces
- Clear and trans-clear pieces for glass
- Slopes and curved bricks for modern rooflines
A set heavy on smooth tiles and neutral colors gives you that refined, real-world look. Bright primary colors work for play sets, not for studio display.
Think About Scale
Real architects work at set scales like 1:100 or 1:50. Some building sets follow similar ratios. Pick a scale you can keep consistent if you plan to build more than one model. Matching scale lets your collection sit together as one skyline.
Step 2: Set Up a Proper Building Studio
A studio build deserves a studio space. Set yourself up right.
Clear a wide, flat table. You need room for the model, the manual, and sorted pieces. More room than you think.
Get strong, even light. A daylight desk lamp shows true colors. It also saves your eyes during long sessions.
Sort your bricks by color and size. Architecture builds use many similar neutral pieces. Sorting saves you from hunting through a gray pile for the right gray. Use small trays or a parts organizer.
Keep a brick separator close. You will rebuild sections as you refine the design. A separator protects your fingers and your pieces.
Have a soft cloth ready. Fingerprints and dust show badly on smooth tile surfaces. Wipe as you go.
Put on music. Brew coffee. Studio time is your time. Enjoy it!
Step 3: Plan Your Model Before You Build
Direct answer: sketch or plan the form first, then build. Skipping this step leads to a model that looks unbalanced.
Study Real Architecture First
Pull up reference images. Look at buildings you admire. Modern homes. Museums. Towers. Notice their proportions. How tall against how wide. Where the glass sits. How the roof lines move.
Great modeling starts with great observation.
Decide on a Style
Pick one clear style and commit to it.
- Modernist. Flat roofs, clean lines, lots of glass, neutral colors.
- Brutalist. Bold concrete forms, heavy blocks, strong shadows.
- Mid-century. Low profiles, warm tones, angled roofs.
- Contemporary. Mixed materials, asymmetry, bold shapes.
A consistent style makes a model read as intentional design, not a random stack. For more planning frames, see our architecture building blocks examples planning guide.
Block Out the Footprint
Start with the base plate. Mark the footprint of your building on it. This sets your scale and keeps the structure square. A strong footprint prevents a leaning, uneven model later.
Step 4: Master the Core Building Techniques
This is where a studio model separates from a basic build. These techniques give you the clean, professional finish that makes architecture models shine.
Build Smooth Surfaces With Tiles
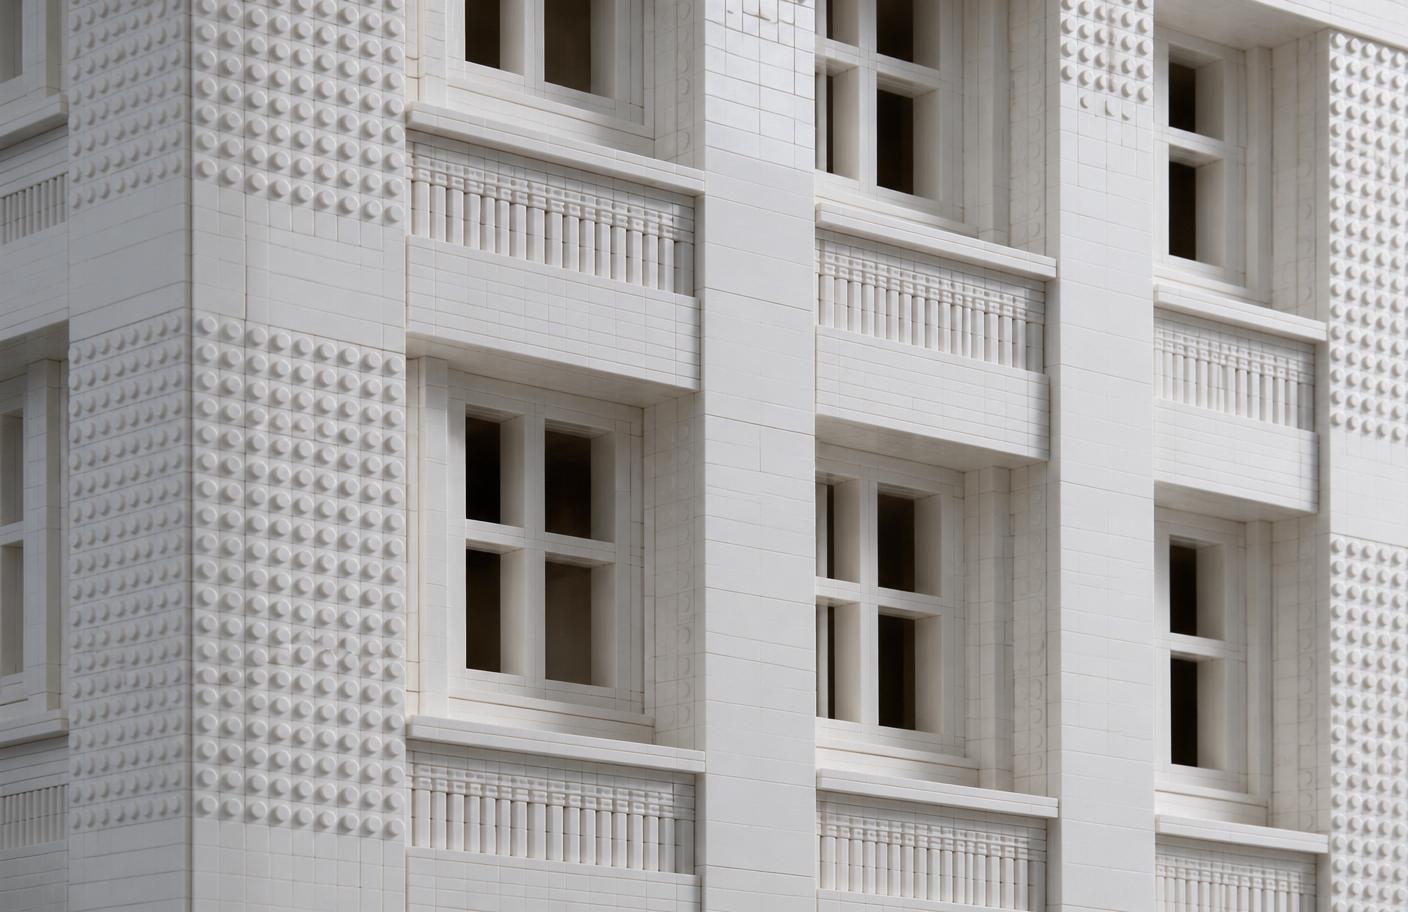
Studs on top read as "toy." Smooth tile surfaces read as "architecture."
Cap your walls and floors with flat tiles wherever the surface shows. This single habit transforms how a model looks. It is the biggest visual upgrade you can make.
Use SNOT for Detail
SNOT means "Studs Not On Top." It is a technique where you turn bricks sideways to place detail on vertical faces.
Use it for:
- Window frames on facades
- Textured wall panels
- Signage and entry details
SNOT lets you build in more than one direction. It adds the fine detail that makes a facade look real. For the software-design mindset behind reusable modules, see our software architecture building blocks guide.
Create Convincing Glass
Glass defines modern architecture. Build it with trans-clear panels, clear panes, or open frames.
For a large glass wall, frame the opening in a dark color and fill it with clear panels. The contrast reads instantly as a curtain wall.
Keep Everything Level and Square
Check your work often. Sight down each wall. Make sure floors are level and corners are true. A model that leans even slightly loses its clean architectural feel.
Take your time here. Precision is the whole point.
Layer for Depth
Flat facades look dull. Push some sections forward and set others back. This layering creates shadow lines and depth. Real buildings have this. Your model should too.
Step 5: Add Landscaping and Context
A building floating alone looks unfinished. Context makes it a scene.
Add a base setting. A plaza. A small garden. A driveway. Even a simple tiled ground plate frames the structure.
Include a few trees or planters. Green softens hard architectural lines. Small foliage pieces add life and scale.
Add pathways and steps. These guide the eye to the entrance. They also show the human scale of the building.
Keep it minimal. Studio architecture is about restraint. A few well-placed elements beat a crowded base. Let the building be the star.
Step 6: Customize and Make It Your Own
Here is where creativity takes over. Official sets are a starting point. A true studio building blocks set lego architecture project invites you to modify and design.
Modify the Set
Change the roofline. Add a floor. Swap a color. Extend a wing. The set gives you a foundation. What you build from there is yours.
Combine Multiple Sets
Link two or more sets to create a larger complex. Standard brick sizing means pieces fit across sets. Build a campus, a street, or a small skyline — the same modular thinking used in our TOGAF-inspired architecture building blocks guide.
Design From Scratch
Once you learn the techniques, try a full original design. Start with a footprint. Build up your form. Apply your tile and SNOT skills. This is the most rewarding path. Your own building, your own vision.
Kitbash for Unique Textures
Kitbashing means using pieces in unexpected ways. A grille tile becomes a vent. A round plate becomes a skylight. This creative reuse gives your model textures no standard build has.
Step 7: Display Your Model Like a Gallery Piece
You put in the hours. Now show your work like the art it is.
Pick the Right Spot
Place your model on a shelf, a sideboard, or a dedicated display table. Choose eye level or just below. Away from edges and foot traffic.
Control the Lighting
Light makes or breaks a display. Add a small LED kit for drama.
- Warm white for a cozy, lived-in glow
- Cool white for a sharp, modern look
- Backlight glass sections for a striking night effect
Plan wire routing before you finish the build. Hide the strings under the base. Keep the battery pack reachable for swaps.
Use a Display Case
Dust is the enemy of smooth tile surfaces. A clear case keeps your model clean and sharp. It also signals that this is a display piece, not a toy.
Angle It for Viewing
Turn your most detailed facade toward the room. Let people see the layering, the glass, and the entrance at a glance.
Common Mistakes to Avoid
A few pitfalls trip up new architecture modelers. Watch for these.
Leaving studs exposed. Tile your visible surfaces. This is the number one upgrade for a clean look.
Using too many colors. Restraint reads as design. Stick to a tight neutral palette.
Skipping the plan. Build without a footprint and your model drifts off-square. Plan first.
Building flat facades. Add depth with forward and recessed sections. Flat looks lifeless.
Rushing the base. A wobbly foundation ruins the structure above. Get it level and stable first.
Overcrowding the landscape. Less is more. Let the building lead.
Your Studio Build Checklist
Here is the whole method in one glance:
- Choose a set with neutral colors and plenty of smooth tiles
- Set up a clean, well-lit workspace and sort by color
- Plan your footprint and pick one clear architectural style
- Tile your surfaces for a smooth, professional finish
- Use SNOT for facade detail and layering for depth
- Add minimal, intentional landscaping
- Customize, combine, or design your own form
- Display with good lighting and a dust-free case
Bringing It All Together
A studio-style architecture model is more than a build. It is design work you do with your hands. You choose the form. You master the technique. You light it and display it like a gallery piece. Each model sharpens your eye and grows your skill.
Start with one clean structure. Learn to tile. Learn SNOT. Add depth and light. Then design your own. Over time, your desk becomes a small skyline of your own making — for more inspiration, see our mini architecture building blocks guide and our architecture toy teaching guide.
Frequently Asked Questions
What makes a building set good for architecture modeling?
Look for three things. A neutral color range like white, gray, sand, and tan. A high count of smooth flat tiles for clean surfaces. And a good mix of slopes, brackets, and clear pieces for detail and glass. Piece count matters less than piece variety. A set built for architecture will favor refined detail over bright play colors. Check the difficulty rating too, since architectural detail usually sits in the mid-to-high range.
Do I need building experience to start a studio-style architecture model?
No, but start at the right level. Beginners should pick a set rated 1 or 2 and a lower piece count. Learn the core habits first: tiling surfaces, keeping walls level, and following the footprint. These skills carry into every build. Once you are comfortable, move up to larger, more complex sets. The techniques in this guide, especially tiling and SNOT, work at every skill level and give fast visual improvement.
What is SNOT and why does it matter for architecture builds?
SNOT stands for "Studs Not On Top." It is a technique where you turn bricks sideways using brackets or headlight pieces, so studs face outward instead of up. This lets you add detail to vertical surfaces like window frames, wall textures, and signage. For architecture models, SNOT is essential. It creates the fine facade detail and multi-directional building that makes a model look like a real structure rather than a simple stack of bricks.
Can I combine different sets to build a larger model?
Yes. Standard brick sizing means pieces fit together across sets. Many builders link two or more kits to create a larger complex, a city street, or a small skyline. For the cleanest result, keep your sets at a consistent scale and a shared color palette. Plan your combined footprint first, then build each structure as its own module before joining them. This is a popular way to grow a collection into one connected display over time.
How do I keep my finished model clean and looking sharp?
A clear display case is the best protection. Smooth tile surfaces show dust and fingerprints easily, so a case keeps the model crisp and gallery-ready. Handle the model with clean hands and wipe surfaces with a soft cloth as you build. Place it on a stable surface away from edges and heavy foot traffic. If you add LED lighting, keep the battery pack accessible so you can swap batteries without disturbing the build.
Ready to build this yourself?
BrickHobby sells high-quality LEGO-alternative building block sets — the same brick standard, a fraction of the price. Browse our in-stock sets and simply contact our customer service team to place your order; we will confirm availability, pricing and worldwide shipping for you.
Keep reading
Architecture & Landmarks
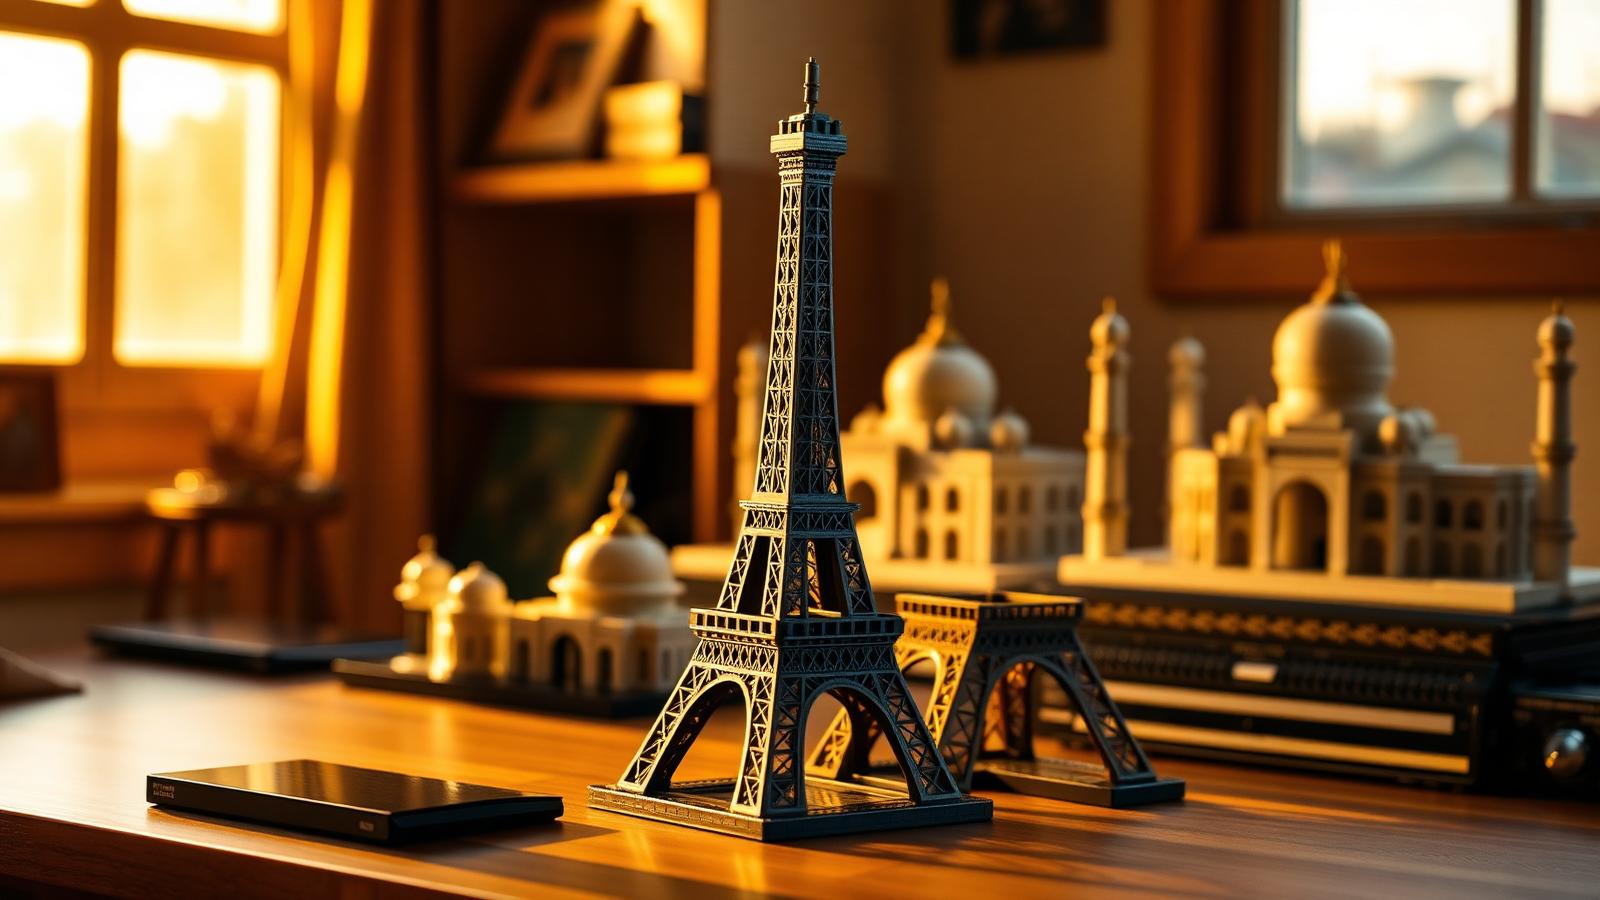
Build Impressive Landmarks with Building Blocks Landmark 5 Sets
A hobbyist and family guide to building blocks landmark 5 sets — how to choose, sort, and build display-quality Eiffel Tower, Colosseum, and Taj Mahal models with BrickHobby as a LEGO alternative.
Architecture & Landmarks
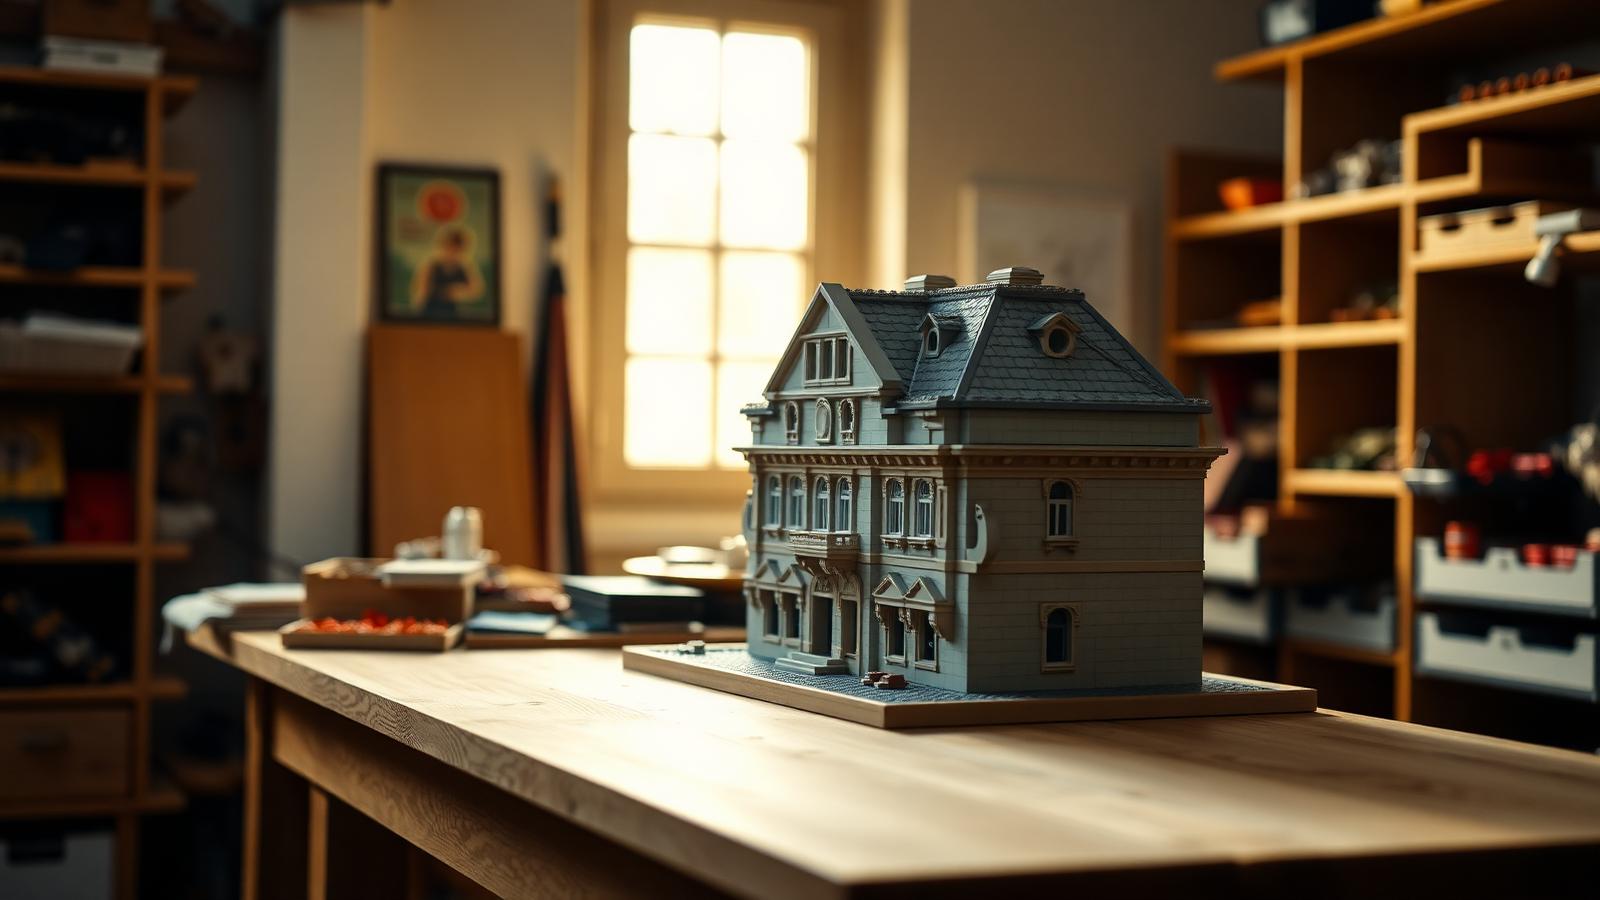
How to Build Impressive Structures with Architecture Wooden Building Blocks
A step-by-step guide for hobbyists and families: how to choose a set, plan, sort, and build display-quality architecture models with wooden-style building blocks.
Architecture & Landmarks
How to Build Stunning Architectural Models with ABB Architecture Building Blocks
ABB architecture building blocks let hobbyists turn a love of buildings into display-worthy models. A complete builder's guide — planning, execution, choosing quality bricks, and showcasing the finished piece.