
How to Build Stunning Architectural Models with ABB Architecture Building Blocks
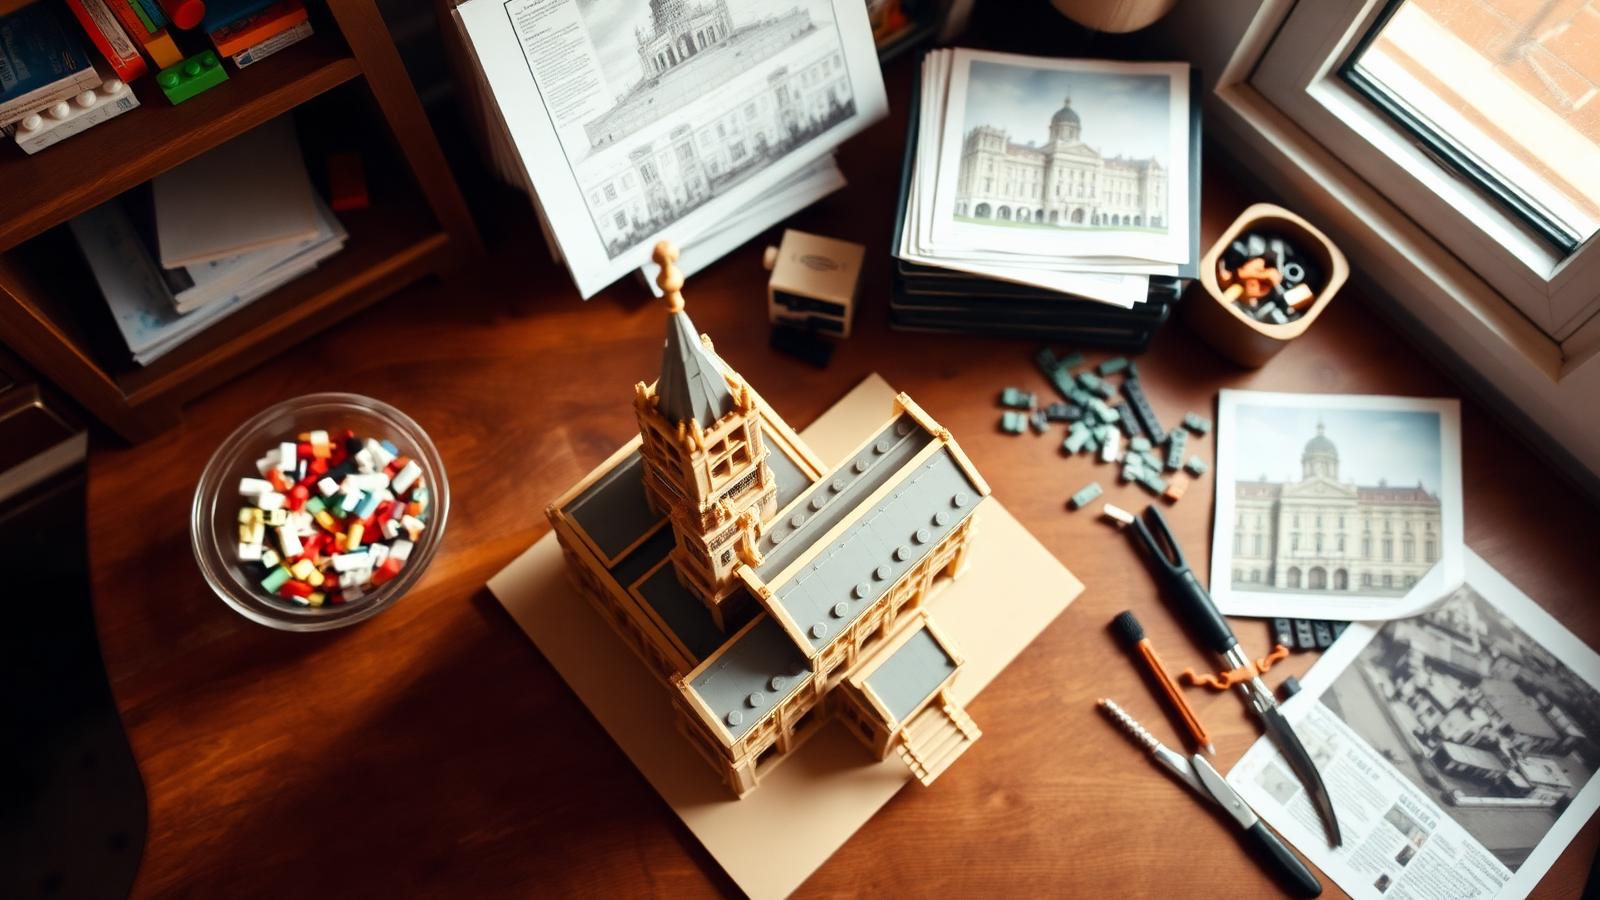
ABB architecture building blocks have become the go-to medium for hobbyists who want to turn their love of buildings into something they can hold, display, and be proud of. This guide walks you through everything — from planning your first build to showcasing the finished model on your shelf. Whether you're a first-timer in Manchester or a seasoned collector in Chicago, you'll find practical steps, honest advice, and genuine encouragement here.
We hope you find something useful in these pages.
Why ABB Architecture Building Blocks Are Gaining Popularity in Europe and North America
Something shifted in the hobby community a few years ago. Adult hobbyists started treating brick building less like a childhood pastime and more like a genuine creative discipline — something closer to model-making or architectural rendering than toy play. Sales of architecture-themed brick sets climbed across the UK, Germany, France, the United States, and Canada. Online communities dedicated to brick architecture grew quickly on Reddit, YouTube, and Instagram.
The reasons are not hard to understand. Building detailed architectural models engages the same skills that many professionals use every day. Engineers enjoy the structural logic. Designers love working through scale and proportion. People in stressful jobs find the repetitive, focused nature of building to be genuinely calming. And when the build is finished, it sits on a desk or shelf as a small, satisfying object — something made by hand.
ABB architecture building blocks fit naturally into this growing enthusiasm. Architecture-focused sets tend to reward patience and precision. They are not built quickly. They reveal their details slowly, layer by layer. That quality appeals strongly to the intermediate-to-advanced hobbyist who wants to spend an afternoon — or several — fully absorbed in a project. For a wider view of the category, see our LEGO architecture hobbyist guide.
There is also a community dimension worth mentioning. Builders across Europe and North America share their finished models, post work-in-progress photos, and offer tips to newcomers. Joining that community is one of the quieter pleasures of the hobby, and architecture builds travel particularly well through photographs.
What You Need Before You Start Building
Before you open a single bag of bricks, a little preparation goes a long way.
The Right Workspace
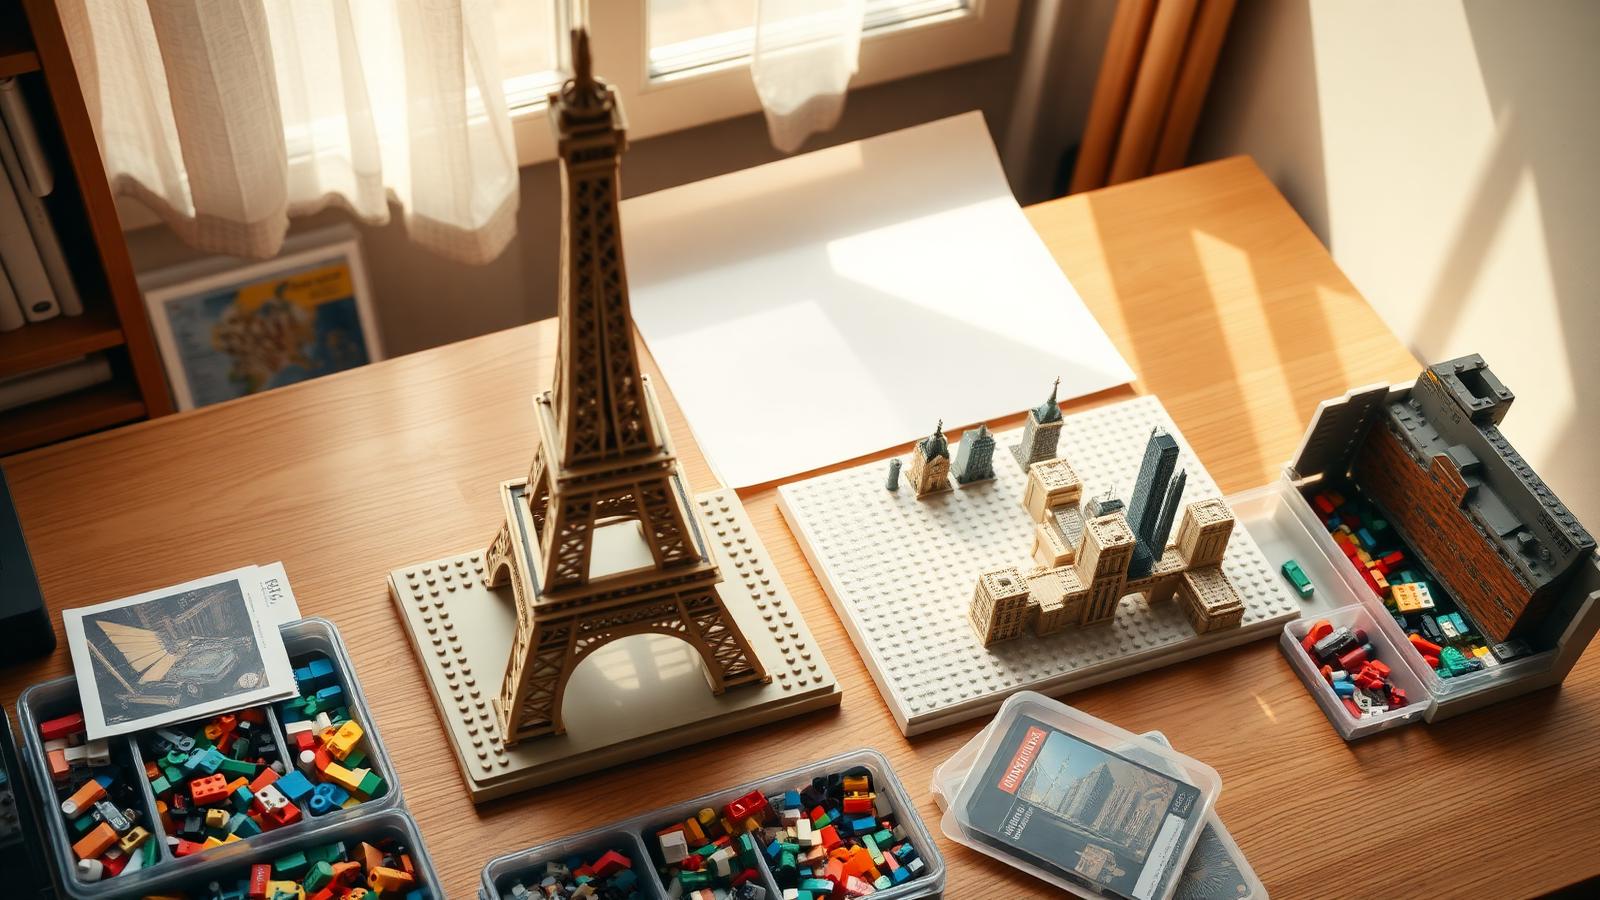
You need a flat, stable surface with good lighting. A dining table works. A dedicated hobby desk is better. The key requirement is that pieces do not roll or fall easily — a thin rubber mat or a large cutting mat placed under your work area helps keep small bricks in place. Good overhead lighting, ideally daylight-balanced, helps you distinguish similar colors and spot misalignments early.
Sorting Equipment
Architecture sets can contain hundreds or even thousands of pieces. Sorting them before you start saves significant time and frustration. Small stackable containers, ice cube trays, or dedicated brick sorting trays all work well. Sort by color first, then by piece type within each color. This step takes twenty to thirty minutes and pays for itself many times over during the build.
The Instructions and a Reference Image
Print or display the instruction booklet at a comfortable size. Many hobbyists keep a reference photograph of the real building open on a phone or tablet beside their workspace. When the instructions leave something ambiguous — and they occasionally do — a real-world reference helps you interpret what the designer intended.
Patience
This is not a throwaway suggestion. Architecture builds are detail-oriented. Some stages involve placing many identical pieces in a repeating pattern, which can feel slow. Others involve small, fiddly connections that require steady hands and close attention. Accepting that pace, rather than fighting it, makes the experience far more enjoyable.
Step-by-Step: How to Plan Your Architecture Build
Good planning turns a potentially frustrating experience into a smooth one.
Step 1: Choose a Subject That Genuinely Interests You
The best architecture models are ones you actually want to display. Think about buildings you find beautiful, historically significant, or personally meaningful. A Paris apartment dweller might gravitate toward a Haussmann-style facade. A hobbyist in Boston might prefer a set inspired by New England civic architecture. Personal connection to the subject sustains your motivation through longer builds. Our roundup of famous architecture building blocks examples is a good place to browse inspiration.
Step 2: Assess the Difficulty Level Honestly
Architecture sets vary widely in complexity. Some are designed for an afternoon of building; others represent multi-session projects spanning several days. Look at the piece count, the number of instruction stages, and any reviews from other builders before committing. Choosing a set that is slightly beyond your current comfort level is good for growth — choosing one that is far beyond it invites frustration.
Step 3: Study the Instructions Before You Begin
Spend fifteen minutes reading through the full instruction booklet before touching a single brick. This gives you a mental map of the build sequence. You will spot where the model changes direction structurally, where decorative detail is concentrated, and where the build is likely to demand the most care. Experienced builders call this "pre-reading," and it consistently reduces errors.
Step 4: Set a Build Timeline
Large architecture models are better approached in sessions rather than marathons. Plan for two to three focused hours per session. Mark the natural stopping points — usually at the end of a numbered stage in the instructions — and plan to pause there. Building tired leads to mistakes; mistakes lead to disassembly; disassembly leads to discouragement.
Step 5: Gather Any Additional Tools
A brick separator is essential if you do not already own one. A pair of tweezers helps place very small decorative pieces accurately. A magnifying glass is useful if the instructions show very fine detail. These are small investments that make a real difference.
Step-by-Step: How to Execute Your Build
With your workspace ready and your plan in place, it is time to build.
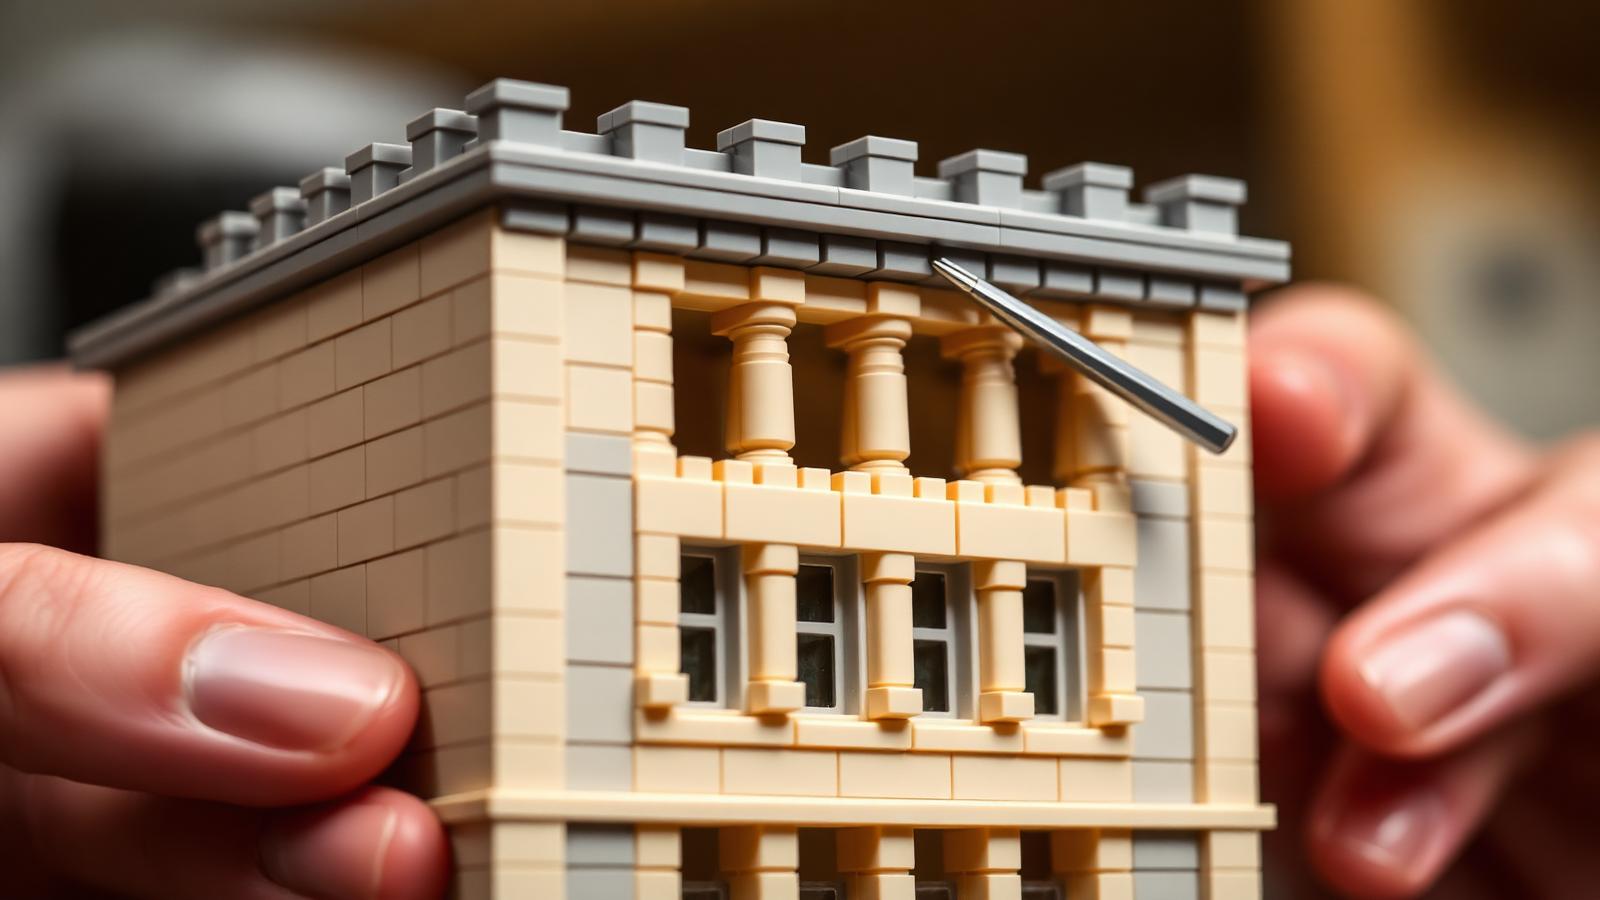
Stage 1: Lay the Foundation
Architecture models typically begin with the base plate or foundation layer. This stage sets the footprint of the entire build, so accuracy matters more here than at any other point. Measure the stud count carefully. If the instructions call for a seven-stud gap between two anchor points, count it twice before moving on. A single stud error in the foundation can propagate through the entire model, creating misalignments that are difficult to diagnose later.
Stage 2: Build the Structural Layers
Most architecture models build upward in horizontal layers. Each layer locks the one below it. Work steadily, checking alignment after every three or four rows. The technique called SNOT — Studs Not On Top — appears frequently in architecture builds. It allows bricks to be placed sideways or downward, creating smooth wall surfaces or horizontal detail bands that would be impossible to achieve with standard upward-facing bricks. Our walkthrough of LEGO Architecture Studio techniques covers SNOT in more detail.
Stage 3: Add Architectural Detail
This is where the model begins to look recognizably like the building it represents. Window frames, columns, arched elements, decorative cornices — these details define the character of the architecture. Many hobbyists find this stage the most satisfying. Take your time. Use tweezers for very small pieces. Stand back periodically and look at the model from a distance, as the real building would be viewed.
Stage 4: Complete the Roofline
Roofs in architecture models often involve angled bricks and slope pieces. This stage can feel complex, but the instructions usually break it into small, manageable sub-steps. Follow them exactly. Rooflines are highly visible in the finished display, so accuracy here pays visible dividends.
Stage 5: Review and Refine
Before declaring the build complete, walk around it. Look at it from multiple angles. Check that all connections are firm, that no pieces are slightly out of alignment, and that decorative elements are seated correctly. A light, careful press across the surface of the model consolidates any connections that may have been placed without full pressure.
How to Choose High-Quality ABB Architecture Building Blocks (Including BrickHobby)
Not all architecture building block sets are made to the same standard. The differences matter, especially for hobbyists who intend to display their models for months or years.
What to Look For in a Quality Set
Clutch strength is the most important technical factor. A brick with good clutch holds firmly to the bricks around it and does not shift under its own weight. Poor clutch creates models that are structurally fragile and visually inconsistent — pieces sit slightly proud of their neighbors, breaking the clean lines that make architecture models look impressive.
Color consistency matters for display. Sets from quality manufacturers use fade-resistant pigments that maintain their appearance over time. Cheaper alternatives can develop a visible color drift between bricks from different production runs, which becomes noticeable in large flat wall sections.
Instruction quality affects the building experience directly. Clear, well-lit diagrams with logical stage breaks make the build enjoyable. Confusing or poorly printed instructions make even a well-designed set feel like a chore.
Where BrickHobby Fits In
BrickHobby is a LEGO alternative brand that designs its architecture sets using photogrammetry scans of real buildings. This means the proportions of each model are derived directly from measurements of the actual structure — not estimated from photographs. The result is sets that are notably accurate in their representation of rooflines, facade proportions, and structural details.
BrickHobby's flagship landmark series includes photogrammetry-scanned models such as the Forbidden City and the Great Wall. Their world landmark collection covers the Eiffel Tower, Colosseum, and Taj Mahal, among others. Each set ships with numbered builder bags, which keeps the sorting process organized from the moment you open the box.
For hobbyists outside China, BrickHobby ships from EU and US warehouses, typically within 48 hours of ordering. They also offer a lifetime brick replacement promise — if you lose a piece mid-build, they send a replacement at no cost.
You can browse the full BrickHobby architecture collection here. If you want more context on architectural terminology, our master architect toy guide is a useful companion read.
How to Display and Showcase Your Finished Model
A completed architecture model deserves a setting that does it justice.
Choose the Right Surface and Height
Display your model at or slightly below eye level when seated. This is the perspective from which architectural models look most impressive — you see the facade as you would the real building from street level. Floating shelves, dedicated display cabinets, and deep windowsills all work well.
Consider Lighting
Directional lighting from above or slightly to one side reveals the three-dimensional texture of brick architecture. A small, adjustable LED desk lamp positioned behind or beside the model creates gentle shadow depth that makes details pop. Avoid harsh direct light from directly in front, which flattens the texture.
Protect the Model from Dust
Brick architecture models accumulate dust, particularly in recessed areas. A display case with a clear acrylic lid is the cleanest solution. If that is not practical, a soft brush — a clean, dry paintbrush works well — removes dust from surfaces without disturbing connections.
Photograph Your Build
The architecture building community values shared photographs. A model photographed against a plain, neutral background with good lighting can look genuinely striking. Post your work to relevant communities on Reddit, Instagram, or Facebook groups. Other builders will appreciate it, and their feedback will help you improve on your next project.
Start Building Something Worth Keeping
ABB architecture building blocks offer something that most hobbies do not: a finished object that is both the product of the process and a daily reminder of it. The model sitting on your shelf is the build you planned, sorted, and assembled one careful layer at a time. That combination of process and permanence is what draws so many hobbyists back to architecture building again and again.
We hope you find a set that excites you, a build that challenges you the right amount, and a finished model you are proud to display. The BrickHobby shop is one place to start looking. We wish you a good build.
Frequently Asked Questions
What makes ABB architecture building blocks different from standard building block sets?
ABB architecture building blocks are specifically designed to replicate real or stylized architectural structures. They typically include slope bricks, arch elements, SNOT-compatible pieces, and decorative details that are not common in standard sets. The piece selection, instruction complexity, and final display quality are all oriented toward architectural realism rather than playability.
Are ABB architecture building block sets compatible with LEGO bricks?
Many architecture-focused building block sets from alternative brands, including BrickHobby, use the standard 4.8mm stud-to-stud spacing that is compatible with LEGO bricks. This means pieces from different manufacturers can generally be combined in the same build, which is useful for customization and for replacing missing pieces.
What skill level do I need to build a large architecture model?
Most large architecture sets are best approached by builders with some prior experience. If you have completed a few medium-complexity sets successfully, you have the foundational skills to attempt a larger architecture model. The key skills are patience, attention to instruction detail, and comfort with SNOT techniques. Complete beginners may prefer to start with a smaller set and work up.
How long does it take to complete a large architecture model?
Build times vary by piece count and complexity. A set with 1,000 to 2,000 pieces typically takes between six and twelve hours of focused building for an experienced hobbyist. Larger sets of 3,000 or more pieces can take fifteen to twenty hours or more. Spreading the build across multiple sessions of two to three hours each is generally more enjoyable than attempting to complete it in a single sitting.
How do I keep my finished architecture model looking good over time?
Keep the model away from direct sunlight, which can fade brick colors over time. Dust it regularly with a soft, dry brush. Avoid placing it in areas of high humidity. If any connections loosen over months of display, press the affected bricks gently back into place. High-quality bricks with good clutch strength hold their connections well for years under normal display conditions.
Shop LEGO-Compatible Architecture Sets from BrickHobby
We offer a curated range of LEGO alternative architecture and landmark sets — collector-grade ABS bricks, numbered builder bags, and worldwide shipping from EU and US warehouses. If you would like to order a set or ask about availability, please contact our customer service team and we will be glad to help you place your order.
Ready to build this yourself?
BrickHobby sells high-quality LEGO-alternative building block sets — the same brick standard, a fraction of the price. Browse our in-stock sets and simply contact our customer service team to place your order; we will confirm availability, pricing and worldwide shipping for you.
Keep reading
Architecture & Landmarks
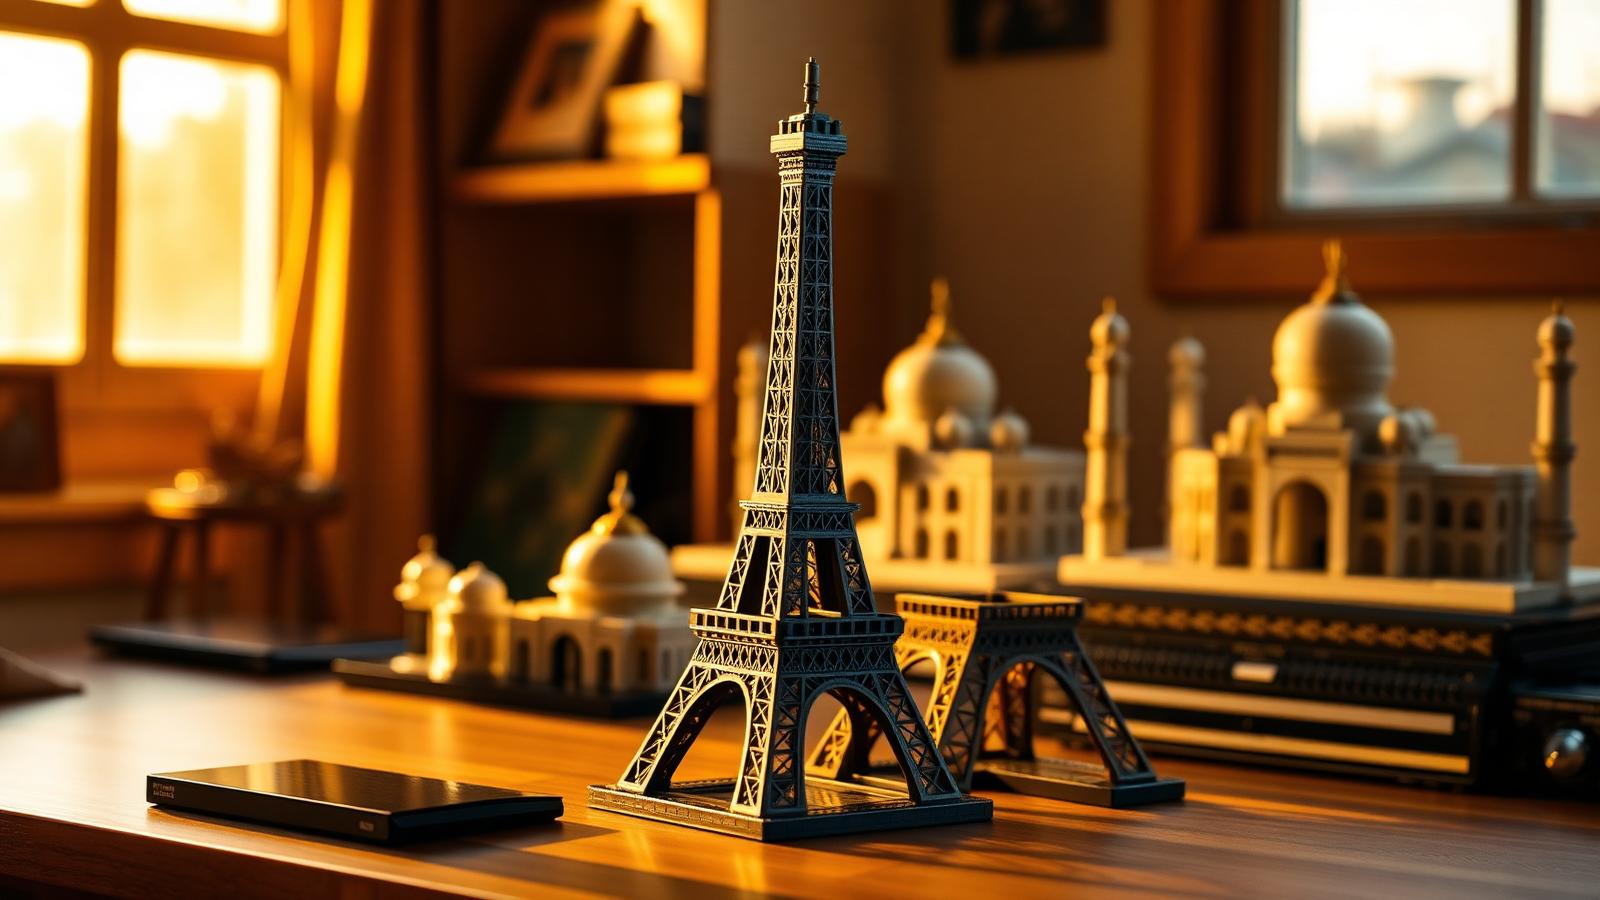
Build Impressive Landmarks with Building Blocks Landmark 5 Sets
A hobbyist and family guide to building blocks landmark 5 sets — how to choose, sort, and build display-quality Eiffel Tower, Colosseum, and Taj Mahal models with BrickHobby as a LEGO alternative.
Architecture & Landmarks
How to Build Impressive Structures with Architecture Wooden Building Blocks
A step-by-step guide for hobbyists and families: how to choose a set, plan, sort, and build display-quality architecture models with wooden-style building blocks.
Architecture & Landmarks
How to Build Impressive LEGO Architecture Models: A Hobbyist's Guide
LEGO architecture building blocks let hobbyists recreate iconic landmarks and cityscapes with precision. A complete guide to planning, building, and displaying architectural brick models — plus tips on choosing high-quality LEGO alternative bricks.