How to Choose the Best Magnetic Building Blocks for Toddlers
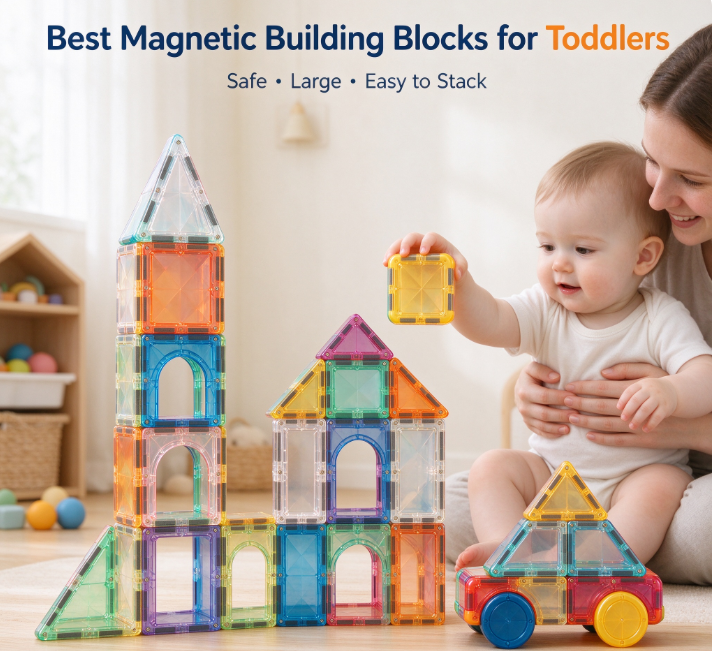
Your toddler stacks three tiles. The tower wobbles, then falls. They laugh and start again. That loop is what magnetic blocks are good for. It builds patience, hand control, and early problem-solving.
Not every set is a good fit for a 2-year-old, though. Some use weak magnets that frustrate small hands. Others have thin seams that crack after a few drops. A few aren't sized for kids under three at all.
This guide shows you how to find the best magnetic building blocks for toddlers, how to set up the first week of play, and how to keep your set safe for years.
Quick takeaways:
- Safety comes first: fully sealed magnets, no small parts, clear age labeling.
- Start with fewer pieces and simple shapes. Add more as skills grow.
- A short daily check of each tile prevents most problems.
- Magnetic blocks are a strong first step toward brick building later on.
---
Why Magnetic Blocks Work So Well for Little Hands
Toddlers want to build before their fingers can handle it. Classic interlocking bricks need pressure and precision. Most 18-month-olds can't do that yet.
Magnets fix the problem. Pieces snap together with almost no force. Your child brings two tiles close, and they connect. That instant result keeps toddlers engaged instead of frustrated.
What your child is actually learning
Watch closely and you'll see real skill-building happen:
- Fine motor control. Gripping, turning, and placing tiles trains the small muscles in the hands and wrists.
- Spatial thinking. Flat squares become a cube. A triangle becomes a roof. Kids learn that 2D shapes make 3D objects.
- Cause and effect. Flip a tile and it repels instead of attracts. Toddlers notice, test it again, and try to work out why.
- Early math words. Square, triangle, tall, short, more, fewer. Building gives you natural moments to use these words.
- Persistence. Towers fall. Kids rebuild. That habit pays off later in school.
Why parents keep buying more
Magnetic tiles have a long play life. A 2-year-old makes flat patterns. A 4-year-old builds garages for toy cars. A 6-year-old designs castles with towers and bridges. One set grows with your child.
They also cut screen time. A tub of tiles on the living room floor competes well with a tablet, especially when a parent joins in.
Takeaway: Magnetic blocks remove the frustration of early building and leave the fun and the learning.
---
Step 1: Check Safety Before Anything Else
This step is not optional. Loose magnets are a serious risk for young children. If a child swallows two or more, they can attract each other through the intestines and cause severe injury. Good toddler sets are designed so this can't happen in normal play.
Here's what to look for.
Fully sealed magnets
Every magnet should sit inside the plastic shell with no way to reach it. You should not see any gap, loose cap, or exposed metal. Shake a tile near your ear. A faint rattle can be normal in some designs, but any visible movement of the magnet inside is a warning sign.
Strong seams
Tiles are usually joined in one of two ways:
- Ultrasonic welding fuses the plastic halves together. Done well, the seam is clean and tight.
- Rivets or screws hold the halves together mechanically. These can be very sturdy, but check that the rivets sit flush and don't loosen.
Either method can work. What matters is that the seam doesn't split when you press on it with your thumbs.
No small parts for under-threes
In the US, toys for children under 3 must pass a small-parts test. The test cylinder is about 1.25 inches (3.17 cm) wide. A quick home check: if a piece fits fully inside an empty toilet paper roll, treat it as a choking risk for a toddler. It's not an official test, but it's a handy rule of thumb.
Age labels and certifications
Read the box, not just the product photo. Look for:
- A clear age grade. Many standard magnetic tile sets are labeled 3+. Some brands make larger, chunkier sets for 18 months and up. Follow the label.
- US: compliance with ASTM F963, the toy safety standard that includes rules for magnets.
- EU: the CE mark and testing to EN 71.
- UK: the UKCA mark (CE is also still accepted in many cases).
A brand that sells into these markets should be able to tell you which standards its toys meet. If a listing is vague about testing, skip it.
Non-toxic plastic
Toddlers chew things. Look for BPA-free ABS plastic. ABS is the same tough plastic used in most quality building toys. It holds its shape and doesn't crack easily.
Takeaway: Sealed magnets, tight seams, no small parts, and clear safety marks. If a set fails any of these, move on.
---
Step 2: Match the Set to Your Child's Age and Stage
The best magnetic building blocks for toddlers aren't the biggest sets. They're the ones that fit what your child can do right now.
Here's a simple guide based on typical development. Every child is different, so use it as a starting point.
| Age | What they usually do | What to buy |
|---|---|---|
| 18–24 months | Hold, bang, stick two pieces together, knock towers down | Large chunky blocks labeled for 18m+, 20–40 pieces, squares only |
| 2–3 years | Flat patterns, short walls, simple stacking | Larger tiles, 40–60 pieces, squares and big triangles |
| 3–4 years | Cubes, boxes, houses, ramps | Standard tiles, 60–100 pieces, add small triangles and a few specialty shapes |
| 4–5 years | Towers, garages, bridges, pretend play | 100+ pieces, add wheels, windows, or connector shapes |
Why fewer pieces is better at first
It sounds backward, but a 120-piece set can overwhelm a 2-year-old. They dump the box, see a mountain of tiles, and walk away. Twenty to forty pieces feel manageable. Your child sees each one and has room to experiment.
You can always add more. Many families start small and expand around birthdays or holidays.
Watch for readiness signs
Your child is ready for more pieces or harder shapes when they:
- Build the same structure over and over with ease.
- Ask for "more" or try to borrow tiles from a sibling.
- Start naming what they build ("This is a house!").
- Get bored in under five minutes with their current set.
Takeaway: Buy for today's skills, not next year's. Size up when your child clearly asks for more.
---
Step 3: Choose the Right Shapes and Magnet Strength
Two sets with the same piece count can play very differently. Shape mix and magnet strength make the difference.
Start with squares
Squares are the backbone of every build. They make walls, floors, cubes, and boxes. For a first set, aim for at least 60% squares. Big triangles come next. They turn a box into a house with a roof.
Skip sets packed with odd shapes like hexagons or curved arches at first. They look fun in photos but don't connect easily for beginners.
Magnet strength: the "Goldilocks" zone
Too weak, and walls collapse when your toddler touches them. That gets frustrating fast. Too strong, and small hands can't pull tiles apart.
A simple test at home:
- Join two tiles edge to edge.
- Hold one tile and let the other hang.
- The hanging tile should stay attached.
- Now ask your child to pull them apart. They should manage it with some effort, not tears.
If the tiles slide or flip around too easily, the magnets may be weak or poorly placed. Good tiles have magnets that rotate freely inside so any edge connects to any edge.
Translucent vs. solid colors
Translucent tiles glow when sunlight or a lamp shines through them. This adds a whole extra layer of play. Solid tiles hide scuffs better and often look cleaner in photos. For toddlers, translucent is usually more engaging.
Takeaway: Lots of squares, magnets that hold but release, and translucent colors if you can get them.
---
Step 4: Inspect the Set When It Arrives
You've picked a set. Before you hand it over, spend five minutes checking it.
- Count the pieces. Make sure everything listed is in the box.
- Check every seam. Press each tile firmly with both thumbs. Nothing should flex or open.
- Look for sharp edges. Run a finger along each edge. Rough plastic from molding should be smooth.
- Smell test. A strong chemical smell is a red flag. Air the tiles out and contact the seller if it doesn't fade.
- Wash before first use. Wipe each tile with warm water and a drop of mild soap. Dry fully.
If anything fails, contact the seller right away. A reliable brand replaces damaged pieces without a fight.
Takeaway: Five minutes of checking on day one prevents problems on day thirty.
---
How to Introduce Magnetic Blocks: A First-Week Play Plan
Most parents open the box, dump the tiles, and hope for the best. A little structure makes the first week much better. Here's a simple plan you can follow.
Day 1: Explore
Give your child 10 to 15 tiles. That's it. Let them touch, stack, and bang tiles together. Don't direct. Just sit nearby and comment on what they do: "You stuck two together!"
Day 2: Flat patterns
Lay tiles flat on the floor or a tray. Make a line, then a square. Invite your child to copy you. Flat building is easier than stacking and builds confidence.
Day 3: The fridge game
Most tiles stick to a steel fridge door. Let your toddler make a pattern on the fridge while you cook. It keeps them busy and close by. (Check your fridge first. Some stainless steel doors aren't magnetic.)
Day 4: Walls and boxes
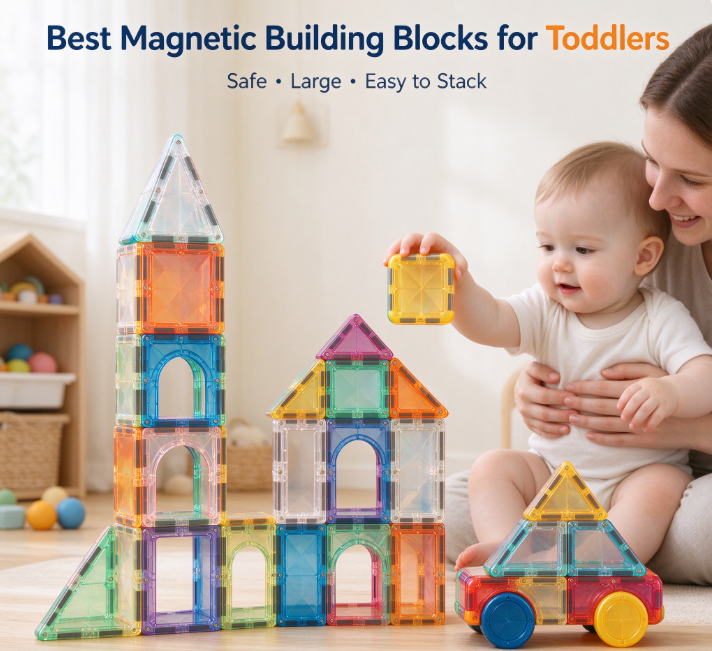
Show how two tiles stand up when connected at an angle. Build a short wall. Then build a box with four walls and a floor. Put a small toy inside. Toddlers love hiding things.
Day 5: Knock-down tower
Build a tower together, then let your child knock it over. Rebuild. Repeat. This is the favorite game for most 2-year-olds, and it teaches that mistakes are fine.
Day 6: Light play
Place translucent tiles on a sunny windowsill or over a flashlight. Watch the colors spread. Name each color as it appears.
Day 7: Free play
Hand over the full set. Let your child lead. You'll be surprised what they remember from the week.
Takeaway: Start small, guide gently, and build up to free play. Short daily sessions beat one long overwhelming one.
---
Build Safe Play Habits From Day One
A good set is only half the job. The habits you build around it matter just as much.
Supervise, especially early on
For children under 3, stay in the room during play. You don't need to hover. Just be close enough to see what's going in their mouth.
Set a "no mouths" rule
Toddlers explore with their mouths. Gently redirect every time: "Blocks are for building." Over a few weeks, most kids get it.
Keep them separate from small magnetic toys
Never mix toddler tiles with small magnetic balls, magnetic jewelry, or adult desk magnets. Those small magnets are the real danger. Store them out of reach in a different room.
Do a weekly crack check
Once a week, pick up each tile and look closely. A crack or split seam means that tile goes in the bin immediately. Don't tape it. Don't save it for later. Replace it.
Know the warning signs
If you ever think your child swallowed a magnet, get medical help right away. Don't wait for symptoms. Keep the packaging so you can show doctors what the toy contains.
Avoid water play
Magnetic tiles aren't bath toys. Water can seep into seams and weaken the plastic or rust the magnets over time. Keep them dry.
Takeaway: Supervise, redirect, inspect weekly, and keep tiny magnets far away. Simple habits, big difference.
---
Clean, Store, and Care for Your Set
Magnetic blocks last for years if you treat them right. Here's the routine.
Cleaning
- Wipe with a damp cloth and mild soap.
- For sticky messes, use a soft toothbrush on the edges.
- Dry each tile fully before storing.
- Skip bleach, harsh sprays, and the dishwasher. High heat can warp ABS and weaken seams.
Storage
A wide, shallow bin works better than a deep box. Toddlers can see the pieces and grab them without dumping everything. Some families store tiles stacked flat in a drawer, sorted by shape.
One unique trick: stick the tiles to a magnetic whiteboard on the wall. It doubles as display and storage, and your child can build right there.
Cleanup as part of play
Make tidying a game. "Find all the red ones!" "Can you stack all the squares?" Kids practice sorting and color names while you get your floor back.
Takeaway: Gentle cleaning, shallow storage, and cleanup games keep your set in shape for the long run.
---
Unique Play Ideas Most Parents Don't Try
Once the basics click, try these to keep things fresh.
- Shadow building. Shine a flashlight on a tile tower in a dark room. Trace the shadow on paper together.
- Car garages and ramps. Build a garage, then a ramp from a tile leaning on a book. Roll toy cars down and see which goes farthest.
- Color sorting towers. One tower for each color. Count the tiles in each.
- Pattern copying. Build a simple 3-tile pattern. Ask your child to copy it. Make it harder as they grow.
- Story builds. "The bear needs a house. Can you build one?" Pretend play pushes kids to plan their builds.
- Family build night. Once a week, everyone builds something. Take a photo. Over a year, you'll see your child's skills grow in those photos.
Takeaway: Mix in light, motion, and storytelling to stretch the play value of every tile.
---
From Magnets to Bricks: Growing With Your Builder
Magnetic tiles are a starting point, not the finish line. Around age 4 to 6, many kids are ready for interlocking bricks. Their fingers are stronger. Their patience is longer. They want more detail.
The skills transfer directly. A child who learned that squares make walls already understands how to build a brick house. A child who loved making garages will want to build a car next.
This is where many families move into larger building sets. At BrickHobby, we make LEGO-compatible brick sets that pick up where magnetic tiles leave off, with clear step-by-step instructions and builds for every skill level.
Keep the magnetic set around
Don't give the tiles away when bricks arrive. Older kids still use them for quick builds, light play, and helping younger siblings. Many families end up with both on the shelf.
Make it a family hobby
Kids learn to build by watching you build. If you already enjoy brick sets as a hobby, let your toddler sit beside you. Hand them a tile while you work on your model. Building together, even on different projects, makes it a shared habit.
Takeaway: Magnetic blocks lay the groundwork. Brick sets build on it. Together, they cover years of creative play.
---
Your Quick Buying Checklist
Before you check out, run through this list:
- [ ] Magnets fully sealed with no gaps
- [ ] Seams don't flex when pressed
- [ ] Age label matches your child
- [ ] Meets ASTM F963 (US), EN 71 with CE mark (EU), or UKCA (UK)
- [ ] BPA-free ABS plastic
- [ ] Mostly squares and large triangles
- [ ] 20–60 pieces for a first toddler set
- [ ] Magnets hold firmly but release with some effort
- [ ] Seller replaces damaged or missing pieces
If a set ticks every box, it's a strong pick for the best magnetic building blocks for toddlers in your home.
---
Conclusion
Choosing a magnetic block set comes down to four things: safety, fit, quality, and play. Check that magnets are sealed and seams are strong. Match the piece count and shapes to your child's current stage. Inspect the set on arrival and every week after. Then build simple play habits and grow from there.
Done right, one set gives you years of screen-free, hands-on learning, and plenty of laughs when the tower falls.
When your little builder is ready for the next challenge, explore BrickHobby sets built for growing hands and curious minds. Start building together!
---
FAQ: Magnetic Building Blocks for Toddlers
What age can toddlers start playing with magnetic building blocks?
It depends on the set. Many standard magnetic tiles are labeled 3+ because of piece size. Some brands make larger, chunkier blocks designed for 18 months and up. Always follow the age label on the box, and supervise children under 3 during every play session.
Are magnetic tiles safe if my toddler puts them in their mouth?
Well-made tiles have magnets fully sealed inside strong plastic, so mouthing alone isn't the main risk. The danger comes from cracked or broken tiles that expose magnets. Redirect mouthing every time, inspect tiles weekly, and throw out any damaged piece right away. If you suspect a swallowed magnet, seek medical help immediately.
How many pieces should a toddler's first magnetic set have?
For kids around 18 months to 3 years, 20 to 60 pieces is plenty. Smaller sets feel manageable and keep toddlers focused. You can add more pieces as your child starts building cubes, houses, and towers, usually around age 3 to 4.
Can magnetic tiles be mixed with brick building sets?
Yes, in play, though they don't physically lock together. Many kids use magnetic tiles to build garages or walls, then add brick-built cars or figures. It's a great bridge between toddler play and more detailed builds. Browse LEGO-compatible brick sets at BrickHobby when your child is ready to level up.
How do I clean magnetic building blocks?
Wipe each tile with a damp cloth and a little mild soap, then dry fully. Avoid soaking, dishwashers, bleach, and harsh sprays. Water and heat can weaken seams and damage magnets over time.
Ready to build this yourself?
BrickHobby sells high-quality LEGO-alternative building block sets — the same brick standard, a fraction of the price. Browse our in-stock sets and simply contact our customer service team to place your order; we will confirm availability, pricing and worldwide shipping for you.
Keep reading
Kids & Toddlers Bricks
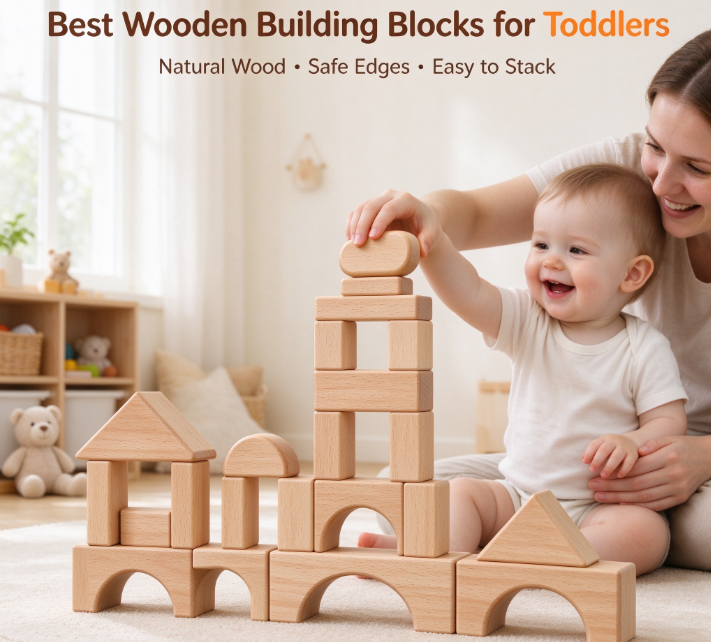
Best Wooden Building Blocks for Toddlers: How to Choose and Use Them
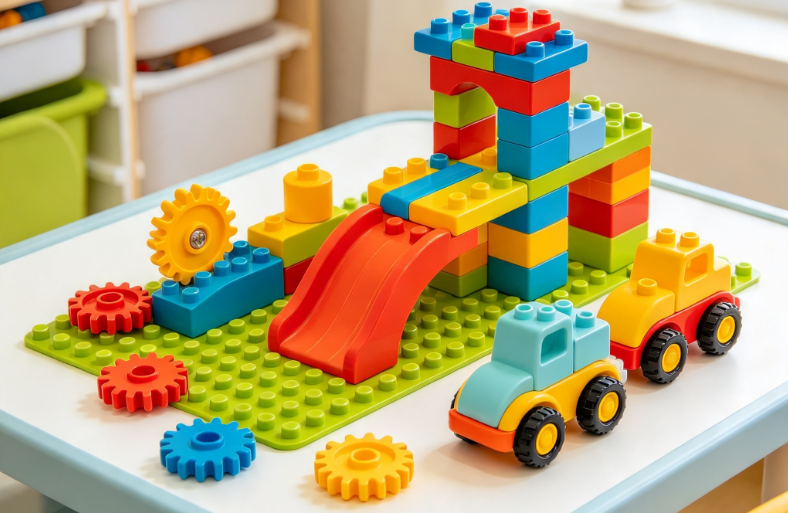
Wooden blocks are the oldest building toy in most homes, and they still earn their spot. No batteries. No app. No pieces that only work one way.
Kids & Toddlers Bricks
How to Choose and Use the Best Giant Building Blocks for Toddlers
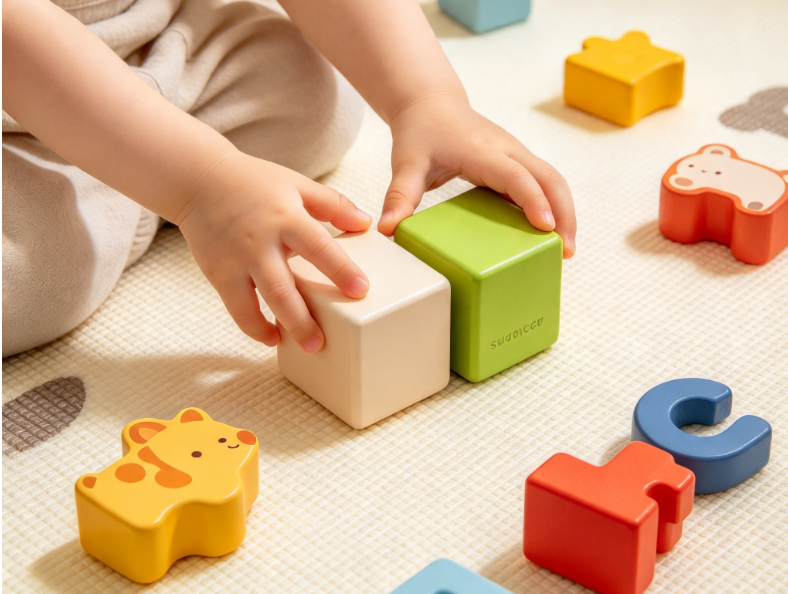
Toddlers don't need complicated toys. They need blocks big enough to grip, safe enough to chew, and sturdy enough to survive a thousand stacking-and-smashing sessions.
Kids & Toddlers Bricks
How to Choose and Use the Best Giant Building Blocks for Toddlers
Toddlers don't need complicated toys. They need blocks big enough to grip, safe enough to chew, and sturdy enough to survive a thousand stacking-and-smashing sessions.