
How to Design a Brick Patch: Modular Micro-Scenes That Bring Your Display to Life

Big builds get the glory, but they eat time, money, and shelf space. There's a smarter way to build something stunning in an evening — the brick patch. A patch is a small, self-contained scene built on a compact base: a corner café, a tide pool, a workshop bench, a slice of forest. Little worlds you can finish fast, swap around, and combine into something bigger.
This guide walks you through brick patch building ideas from concept to finished display. You'll learn how to pick a theme, size your base, layer detail, and connect patches into a growing scene. Whether you build to unwind after work, teach a kid to plan and problem-solve, or stage display pieces that actually earn their shelf space, patches deliver maximum payoff for minimal parts.
Here's the plan:
- What a brick patch is and why it works
- How to choose a theme with real visual punch
- A step-by-step build framework
- Detail tricks that make small scenes look big
- How to link patches into a modular display
Let's build a little world.
What a Brick Patch Is (and Why It Works)
A brick patch is a miniature scene built on a small footprint — usually a single baseplate or less. Think of it as a diorama in brick form. One patch tells one story: a fisherman's dock at dawn, a neon ramen stall, a mossy ruin reclaimed by nature.
The magic is in the constraint. A small base forces smart choices about focal points, color, and depth. You can't hide behind scale, so every piece has to earn its place. That challenge is exactly what makes patches so satisfying to build and so rewarding to display.
Patches also solve real problems. They finish fast, so you get that completion high without a fifty-hour commitment. They cost little, since a rich scene needs a few hundred pieces, not a few thousand. And they store easily, tucking onto a shelf or windowsill without dominating a room.
In short: A brick patch is a small, story-driven scene that delivers big creative reward with modest parts, time, and space.
Step 1: Choose a Theme With Visual Punch
Every great patch starts with one clear idea. Not "a city" — too broad. Instead, "a rainy noodle stall at midnight." Specific themes build themselves.
Pick a Single Story
Name your scene in one sentence. The tighter the concept, the easier every later decision becomes. A vague theme leaves you staring at a blank base; a sharp one tells you exactly what to place.
Strong starter themes:
- Cozy corner — café, bookshop, flower stall
- Nature slice — tide pool, forest floor, desert oasis
- Workshop — potter's studio, mechanic's garage, artist's loft
- Fantasy fragment — wizard's nook, ruined shrine, dragon's perch
- Retro spot — arcade corner, diner booth, record shop
Anchor It With a Focal Point
Every patch needs one hero element your eye lands on first — a glowing lamp, a red door, a gnarled tree. Build the scene around that anchor. Everything else supports it.
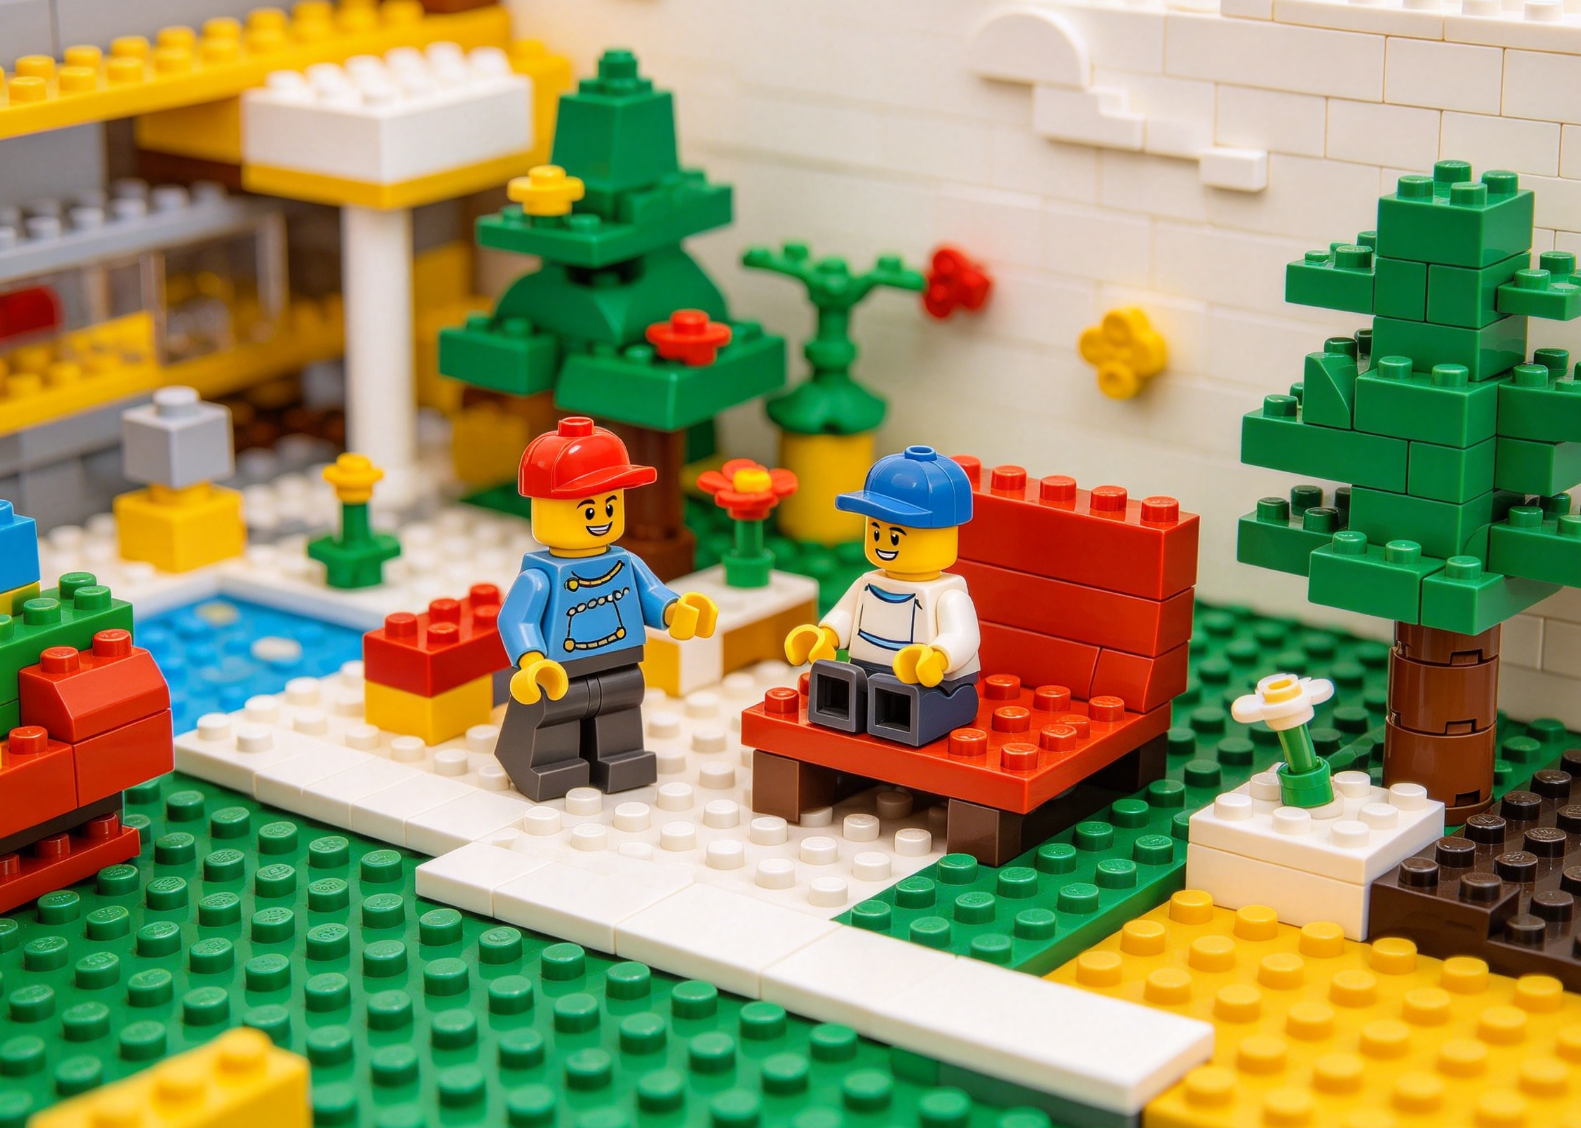
Mini-scenario: You choose "autumn book nook." Your focal point is a warm amber window. Around it you add a leaf-strewn path, a bench, and a lamppost. One idea, one anchor, and the whole scene falls into place.
Match Theme to Mood
Decide the feeling first — cozy, eerie, energetic, serene. Mood drives your color palette and lighting, which we'll get to. A serene tide pool leans on blues and soft greens. An energetic arcade blazes with neon.
Need inspiration for themes and palettes? The BrickHobby blog is a solid place to browse ideas before you commit.
In short: Pick one specific story, anchor it with a single hero element, and let mood guide your colors.
Step 2: Size and Set Up Your Base
The base defines your whole build. Get it right and everything else clicks into place.
Choose Your Footprint
For a first patch, start small — a 16x16 or 16x32 stud baseplate is ideal. Small enough to finish, large enough to tell a story. Resist going bigger too soon; a tight footprint sharpens your design instincts.
If you plan to connect patches later (more on that in Step 5), pick a consistent base size now. Uniform footprints make modular linking effortless down the road.
Establish Ground Levels
Flat scenes read as flat. Add interest by varying height. Stack plates to create a raised path, a sunken pond, or a stepped hillside. Even a single level of elevation transforms a scene from a floor plan into a place.
Reserve a Sight Line
Decide which side is the "front" — the angle viewers see first. Keep tall elements toward the back and low detail up front so nothing blocks your focal point. This one habit separates amateur builds from display-worthy ones.
In short: Start with a small, consistent base, vary your ground levels, and plan a clear front-facing sight line.
Step 3: Build in Layers, Back to Front
Professional dioramas build in layers, and your patch should too. Working back to front keeps your scene readable and your hands unobstructed.
Layer 1 — Background
Build the tallest, farthest elements first: a wall, a tree canopy, a cliff face. These frame the scene and set the backdrop for everything ahead. Keep the background simple so it supports rather than competes.
Layer 2 — Midground
This is where your focal point lives. Place your hero element and the main structures that carry the story — the café front, the workshop bench, the shrine. Give this layer the most detail, since it's what viewers study.
Layer 3 — Foreground
Add the small stuff up front: scattered leaves, a stray cat, a tipped-over bucket, a puddle. Foreground detail creates depth and invites the eye to linger. Keep these pieces low so they never block the midground.
Layer 4 — Connective Detail
Finally, tie the layers together with paths, fences, wires, or vines that lead the eye from front to back. This connective tissue is what makes a scene feel unified instead of like separate props on a plate.
In short: Build back to front in four layers — background, midground focal point, foreground detail, then connective elements that unify the scene.

Step 4: Detail Tricks That Make Small Scenes Look Big
The difference between a plain base and a jaw-dropping patch is detail technique. These moves punch way above their piece count.
Use Texture Over Flat Surfaces
Swap smooth tiles for textured elements — grille pieces, plates at slight angles, mixed-shade brick "cobblestone." A textured surface reads as real; a flat one reads as unfinished. Broken, irregular patterns beat perfect grids every time.
Add Organic Irregularity
Nature is never symmetrical. When building foliage, rocks, or terrain, stagger heights and cluster pieces unevenly. A perfectly round tree looks fake; a lopsided one looks alive. Deliberate imperfection sells realism.
Introduce Color Accents Sparingly
Pick one or two accent colors and use them for emphasis only — a red door in a gray street, yellow flowers in a green field. Restraint makes accents pop. Rainbow scenes read as chaotic; controlled palettes read as intentional.
Play With Angles
Not everything has to sit square to the grid. Angled fences, tilted signs, and rotated micro-structures add energy and realism. A few off-grid elements make a scene feel hand-built rather than snapped together.
Suggest Light and Shadow
You can imply lighting through color. Place lighter shades where "light" hits and darker tones in recesses. For a next-level patch, tuck a small LED behind your focal window for a genuine glow. Illuminated patches make outstanding display pieces.
Common Mistake: Overcrowding
The biggest patch-building error is cramming in too much. A busy scene loses its focal point and reads as clutter. Leave breathing room — empty space directs attention and gives your hero element room to shine. When in doubt, remove a piece.
In short: Add texture, embrace irregularity, limit accent colors, work in angles, imply light, and never overcrowd.
Step 5: Link Patches Into a Modular Display
One patch is a scene. Several linked patches are a world. Here's how to design for growth.
Standardize Your Edges
If your patch bases share the same footprint and align at the studs, they connect edge to edge like tiles. Plan your paths, rivers, and roads to meet at the base border so they flow continuously across patches. A road exiting the right edge of one patch should enter the left edge of the next.
Mix Themes for Contrast
Linked patches don't need to match perfectly — contrast creates interest. A cozy café patch beside a leafy park patch beside a market patch builds a believable neighborhood. Shared color threads (matching paving, consistent lampposts) tie diverse patches together.
Build a Collection Over Time
This is the real power of patches. Build one this month, another next month, and slowly assemble a sprawling display without ever committing to one giant build. Each patch stands alone or joins the group — total flexibility.
Mini-scenario: You start with a single ramen-stall patch. A month later you add a rainy alley patch that connects on the left. Then an arcade corner on the right. Three evenings, three small builds — and now you've got a glowing cyberpunk block that stops visitors in their tracks.
Share and Swap
Standard edges mean your patches can even join a friend's at a meetup. The building community loves collaborative displays, and modular patches are built for exactly that. Photograph your scenes, post them, and trade ideas with builders chasing the same brick patch building ideas.
Ready to source parts for your next patch? Explore the shop for versatile sets rich in the detail pieces these scenes need.
In short: Standardize edges, mix themes with shared threads, grow your display one patch at a time, and connect with the community.
Putting It All Together
Picture the full workflow. You pick a theme: "misty forest shrine." Your focal point is a moss-covered stone archway with a lantern glowing inside. You grab a 16x16 base and build a low hill so the shrine sits raised.
You layer back to front — tall pines in the background, the shrine and lantern in the midground, scattered stones and fallen leaves up front. You texture the ground with mixed-green plates, angle a broken fence off-grid, and slip a warm LED behind the lantern. You leave open space around the archway so it breathes.
Two hours later, you've got a display-worthy micro-scene. Next month you build a matching "forest bridge" patch that connects on the right. Your world grows, one evening at a time.
That's the beauty of patches. Small commitment, big reward, endless expansion.
Conclusion
A brick patch turns a few hundred bricks into a finished, story-driven scene you'll be proud to display. Choose one specific theme, anchor it with a focal point, build in layers, sweat the detail, and standardize your edges so patches link into a growing world. You get the satisfaction of completion, the creativity of custom design, and a display that expands on your schedule.
The best part? You can start tonight. Pick one theme from this guide, grab a small base, and build your first patch this week. Which scene will you build first — a cozy café, a misty shrine, or a neon alley?
For more brick patch building ideas, sets, and inspiration, visit BrickHobby and start your first scene.
Frequently Asked Questions
What exactly are brick patch building ideas, and who are they for?
Brick patch building ideas are concepts for small, self-contained scenes built on a compact base — a café corner, a tide pool, a workshop bench. They suit everyone: adult hobbyists wanting a quick, satisfying build, families teaching kids to plan and problem-solve, collectors staging display pieces, and creators designing original micro-worlds. The small scale makes them fast, affordable, and endlessly customizable.
How many pieces do I need for a good brick patch?
Most rewarding patches use between 200 and 600 pieces. A small base with strong layering and detail beats a large base with sparse filler. Focus on versatile elements — plates, tiles, foliage, and small specialty pieces — since detail work carries the scene far more than raw piece count.
Can kids build brick patches, or are they too advanced?
Kids can absolutely build patches, and they're excellent for STEM learning. Start with a simple theme and a small base, then guide the layering process — background, focal point, foreground. Patches teach planning, spatial reasoning, and creative decision-making, all while finishing fast enough to keep young builders engaged and proud.
How do I connect multiple patches into one display?
Standardize your base footprint so patches align at the studs, then plan paths, roads, or rivers to meet at the base edges. A road leaving one patch should continue into the next. Use shared color threads — matching paving or lampposts — to tie contrasting themes together into a cohesive, expandable display.
What's the most common mistake in brick patch building?
Overcrowding. Beginners often cram in so much detail that the scene loses its focal point and reads as clutter. Leave deliberate empty space to direct the eye and let your hero element stand out. When a patch feels busy, remove pieces rather than adding more — restraint is what makes small scenes look professional.
Ready to build this yourself?
BrickHobby sells high-quality LEGO-alternative building block sets — the same brick standard, a fraction of the price. Browse our in-stock sets and simply contact our customer service team to place your order; we will confirm availability, pricing and worldwide shipping for you.
Keep reading

Brick News
Track Brick and LEGO Company News Like a Pro Builder
Learn how to track brick and lego company news, spot trends early, and choose better Lego alternatives like BrickHobby for your next build.

Brick News
How to Follow JT the Brick Lego News and Find Better Alternatives
Learn how to track JT the Brick Lego news, spot building trends, and choose the best Lego alternatives for your next build with this practical guide.
Brick News
How to Follow Lego Brick Manufacturer News and Find the Best Alternatives
Learn how to track lego brick manufacturer news and evaluate alternative brands like BrickHobby before your next build. A practical guide for collectors.