How to Build Architectural Models with Modular Building Blocks
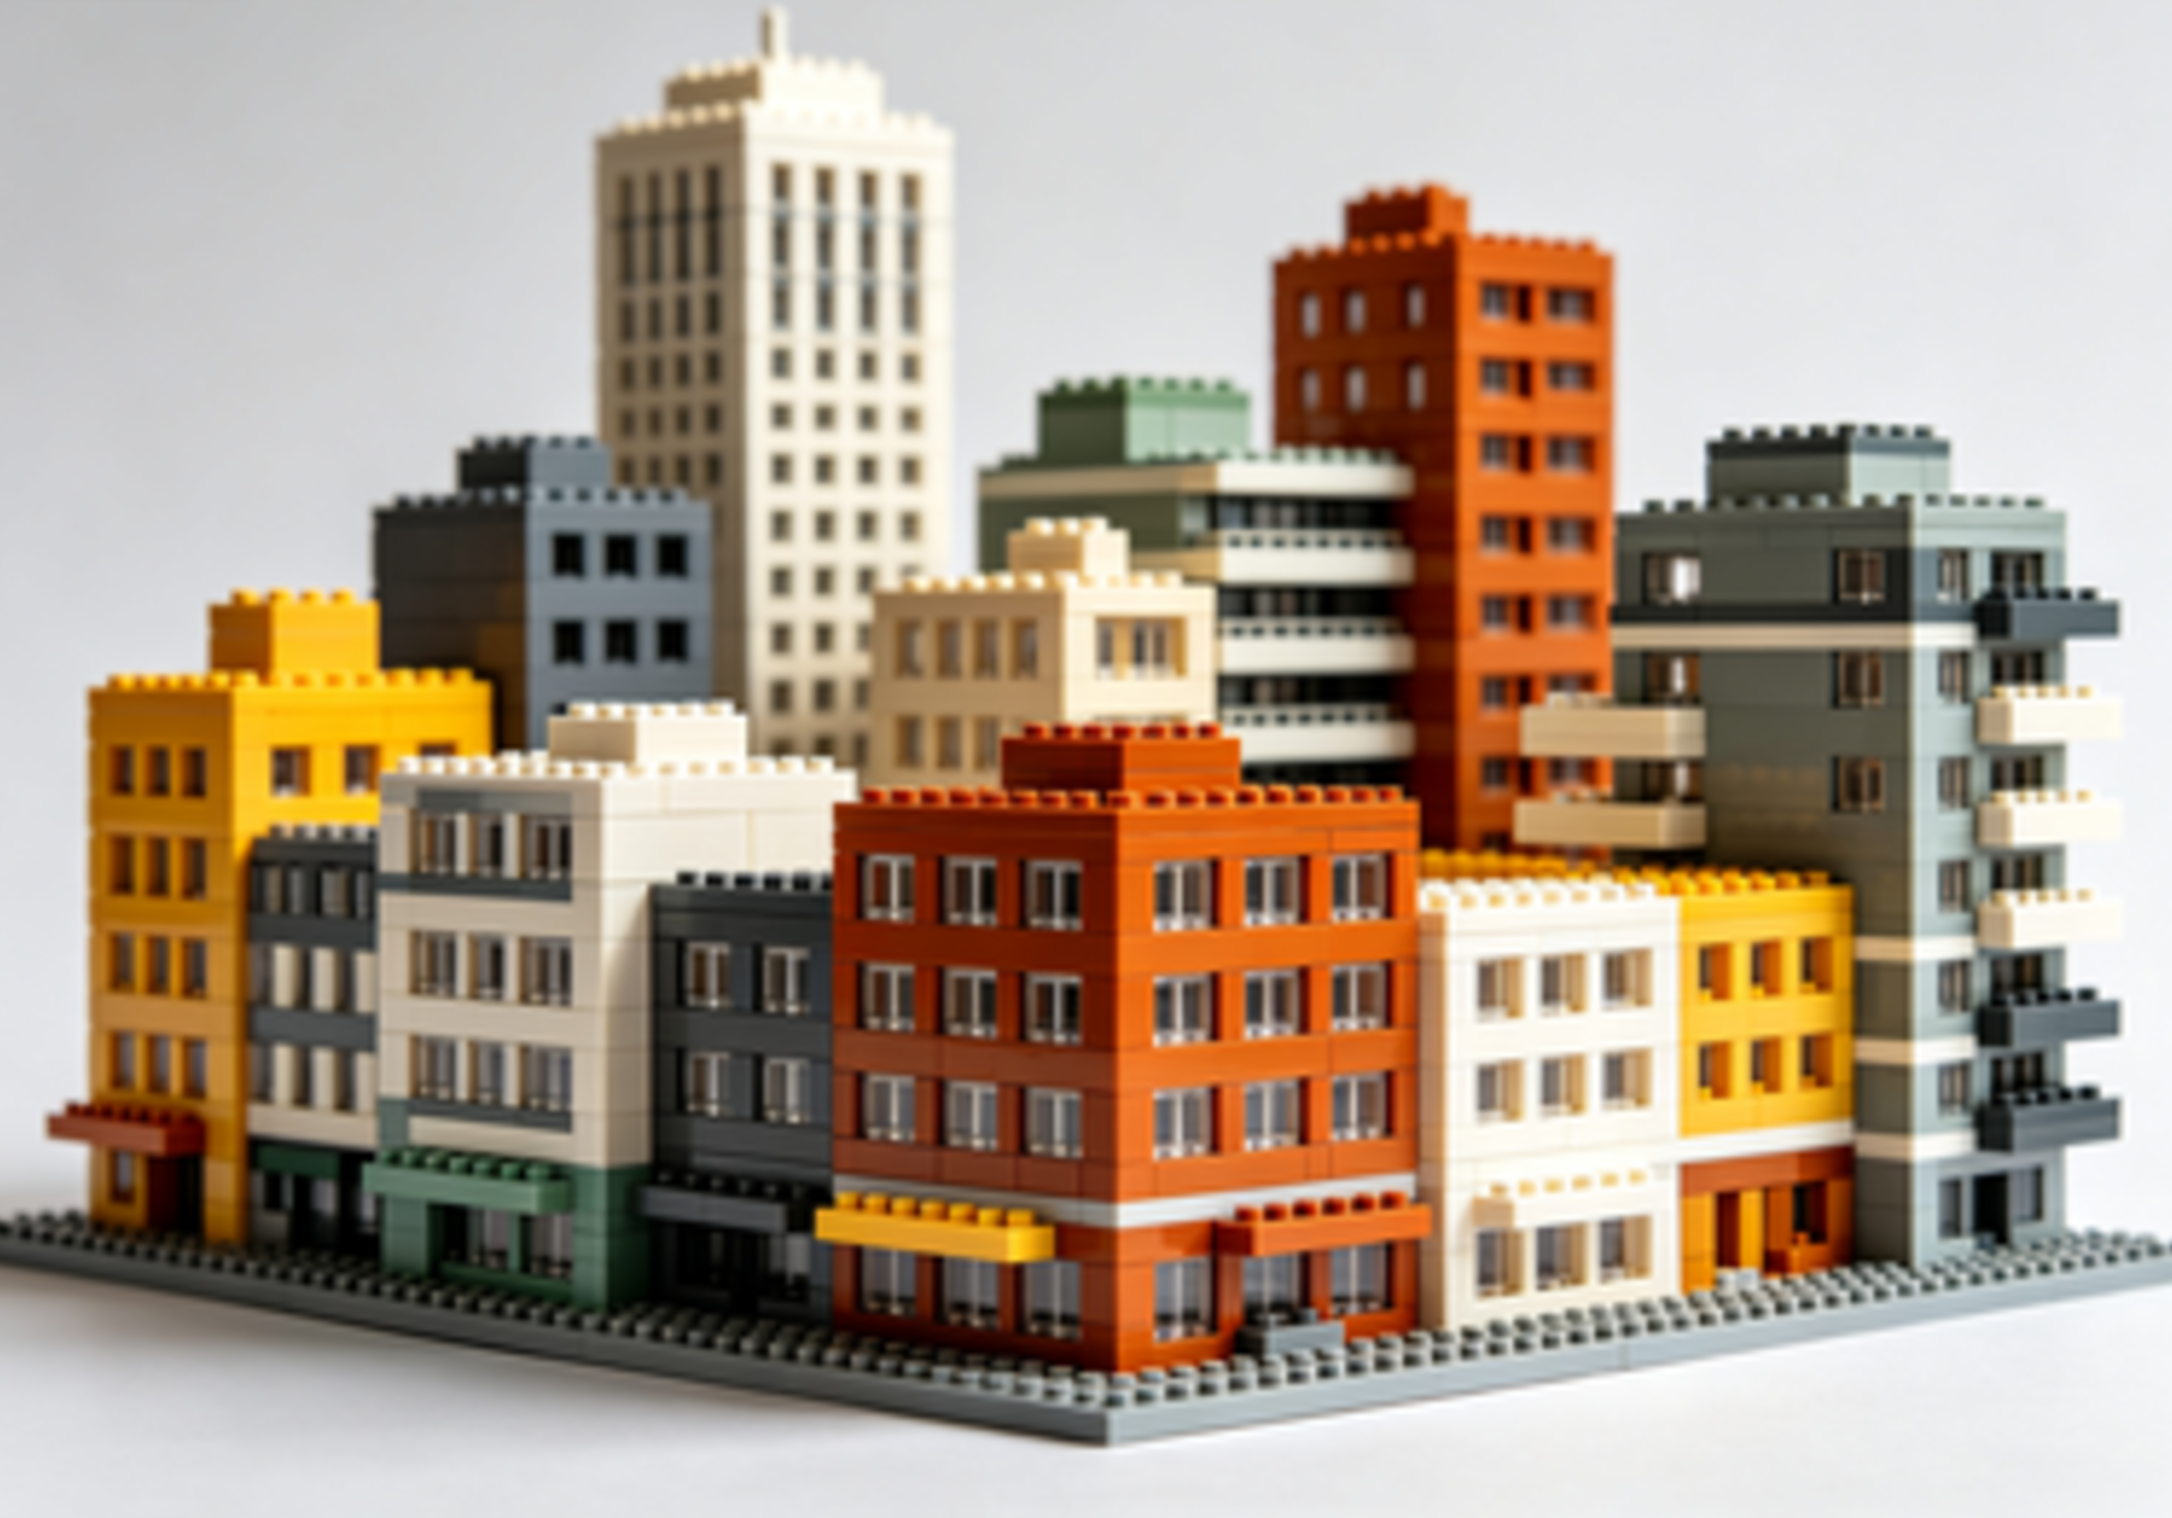
Architecture builds are different. A stadium or spaceship can hide flaws behind bulk. A building can't. Straight walls, clean corners, and correct proportions decide whether your model reads as a real structure or a lopsided box. That's the challenge — and the fun.
This guide covers the full process. You'll learn how to plan a design before you place a single brick, how to pick a modular system that scales, how to build walls that stay straight, and how to finish a model so it looks like it belongs in an architect's office. We'll also cover how to grow a collection into a full skyline.
Let's start building.
Why Modular Building Blocks Suit Architecture
Architecture rewards repetition and structure. Windows repeat. Floors stack. Facades follow a grid. That's exactly what modular systems do best.
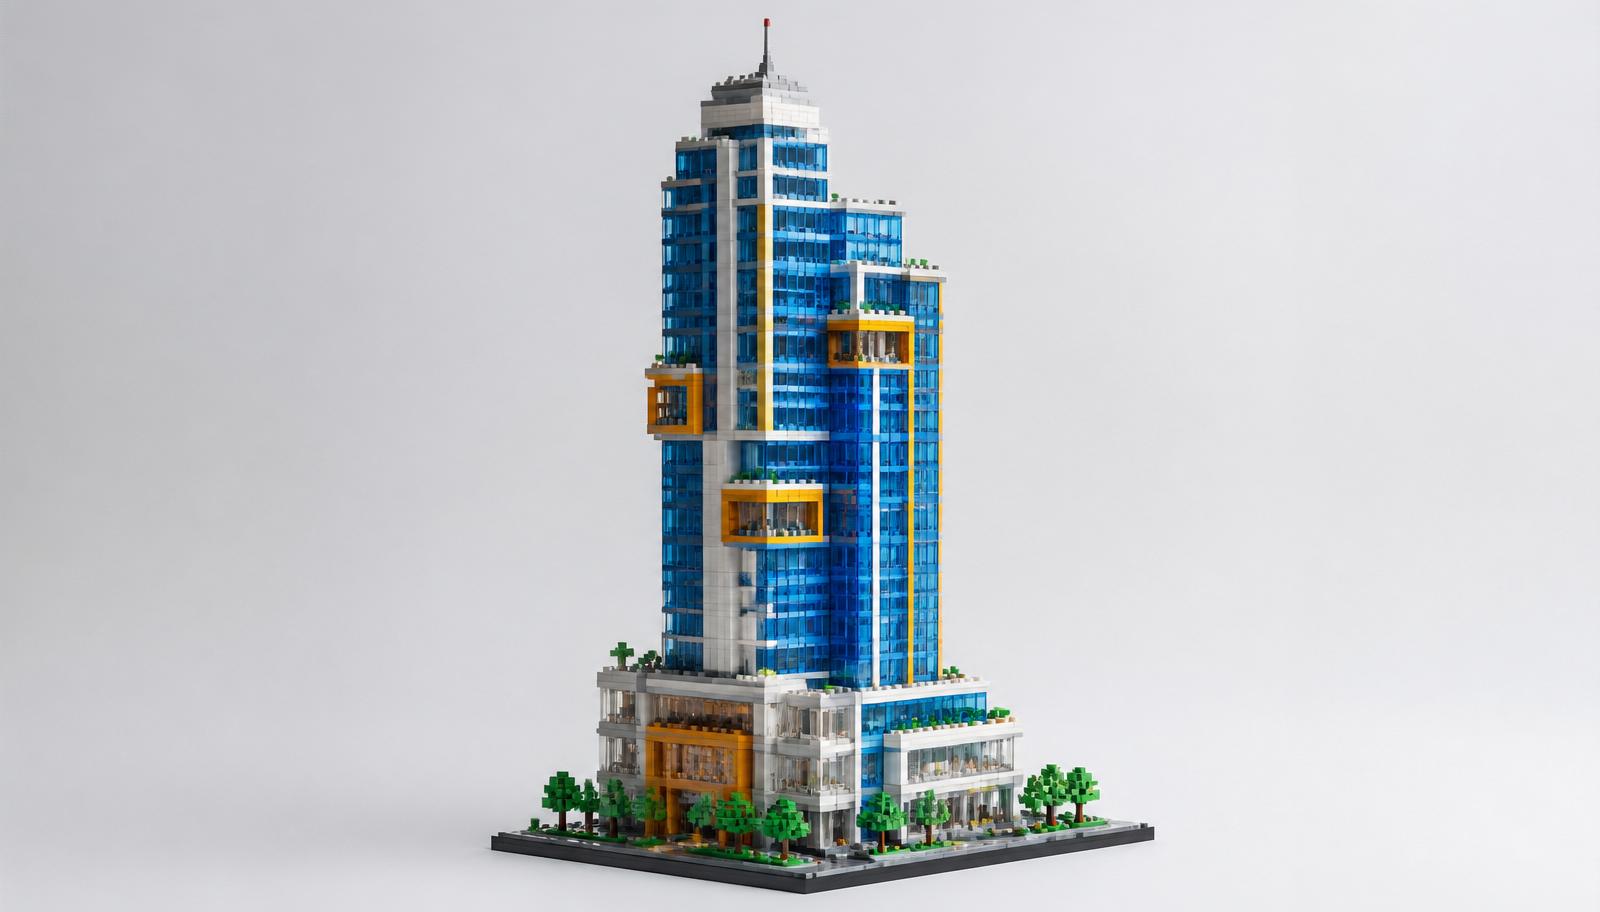
Modular building blocks architecture works because the medium matches the subject. A brick grid mirrors the structural grid of a real building. Floors become layers. Rooms become sections. The system does half the planning for you.
Here's what makes the approach work:
- Repeatable units. Build one floor, then copy it. Multi-story towers get fast.
- Sectional design. Split a building into modules — base, floors, roof — and build each separately.
- Easy expansion. Add a wing, a floor, or an annex without rebuilding the whole model.
- Clean display. Modular sections lift apart, so you can move and store large builds.
For adult hobbyists, this means less frustration and more finished models. For creators designing their own structures, it means a system that grows with the idea.
> Key point: Modular systems match how real buildings are structured — in grids, floors, and repeatable sections.
Step 1: Plan Your Design Before You Build
The biggest architecture mistakes happen before the first brick clicks. Planning saves hours of teardown later.
Start With a Reference
Pick a real building or a clear concept. A photo reference keeps your proportions honest. Note the key features:
- Number of floors
- Window placement and spacing
- Roof style and pitch
- Facade details — columns, cornices, balconies
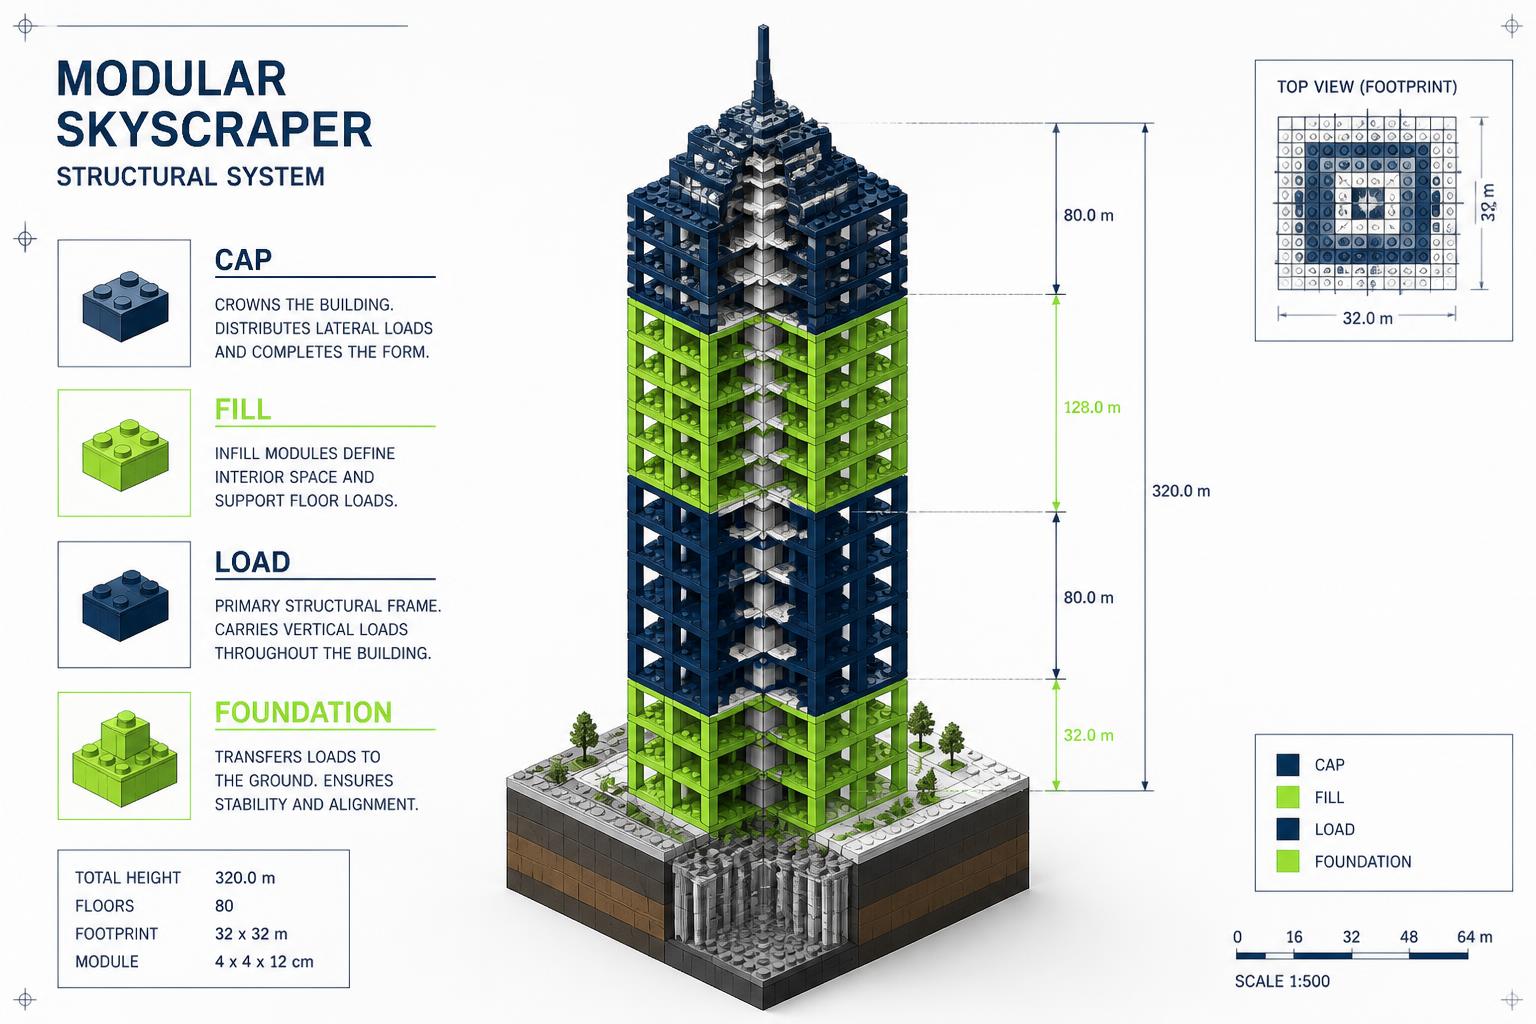
Set Your Scale
Scale decides everything else. Two common approaches:
- Microscale. One brick equals a floor. Great for skylines and skyscrapers. Compact and display-friendly.
- Minifig scale. Rooms sized for standard figures. Larger, more detailed, better for interiors.
Pick one and commit. Mixing scales in a single build breaks the illusion fast.
Sketch the Footprint
Plan your base in stud units. A building footprint of 32x32 studs, for example, sets your wall lengths and window counts before you start. Graph paper or a simple grid app works. Count the studs, then buy to match.
Planning tools and baseplate options are worth reviewing early. You can check baseplate sizes and landmark kits in our Architecture & Landmarks collection to lock your footprint before you order bricks.
> Key point: Fix your reference, scale, and footprint on paper before you build anything.
Step 2: Choose the Right Modular System
Not every brick system suits architecture. The right choice depends on your scale and your ambition.
Match the System to Your Build
| Build Type | Best Scale | Key Pieces Needed |
|---|---|---|
| Skyline / skyscraper | Microscale | 1x1, 1x2 bricks, tiles |
| Detailed facade | Minifig scale | Plates, arches, panels |
| Modular street | Minifig scale | Baseplates, corner bricks |
| Interior build | Minifig scale | Tiles, furniture parts, windows |
Successful modular building blocks architecture relies on standard 8mm stud spacing. That spacing lets you mix brands, expand collections, and swap parts without dead ends. Confirm spacing before you commit to a system.
Stock the Architectural Parts
Buildings need specific pieces most sets skip:
- Windows and doors. Buy in quantity. Facades eat these fast.
- Arches. For doorways, bridges, and curved facades.
- Tiles. Smooth surfaces for floors, roofs, and clean walls.
- SNOT bricks. Studs Not On Top pieces let you build sideways for detailed facades.
- Slopes. For roofs, cornices, and angled details.
Stocking these in bulk saves repeat orders. Browse our full Architecture & Landmarks category on the blog for build breakdowns that call out the exact parts you'll want in stock.
> Key point: Match the system to your scale, confirm 8mm spacing, and stock windows, arches, and tiles in advance.
Step 3: Build Walls That Stay Straight
A crooked wall ruins an architecture model. These techniques keep every surface true.
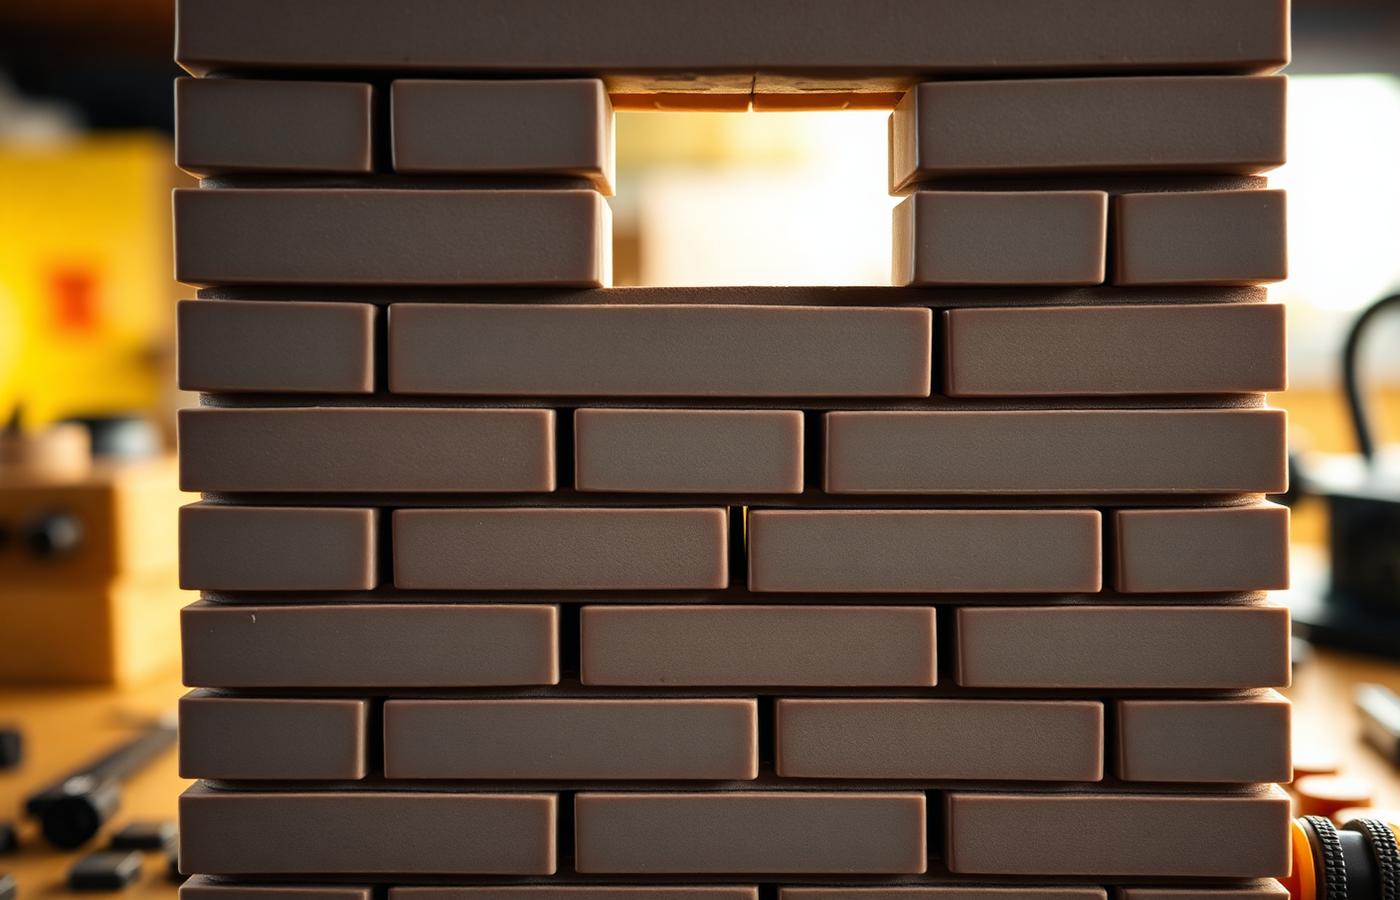
Stagger Your Bricks
Never stack bricks in a straight vertical seam. Offset each row like real masonry. Staggered bricks lock the wall together and stop it splitting along a weak line.
Lock With Plates
Every few rows, run a plate across the wall. A plate ties staggered bricks into one solid unit. For tall walls, plate every four to six rows to prevent bowing.
Reinforce the Corners
Corners are where walls fail. Overlap bricks at each corner so the two walls interlock. A corner built with a straight seam pulls apart. A corner with overlapping bricks holds firm.
Build Sideways for Detail
SNOT technique — Studs Not On Top — lets you turn bricks to face outward. Use it for:
- Recessed windows
- Textured facades
- Horizontal banding and cornices
- Logos or lettering on a building face
> Definition: SNOT stands for "Studs Not On Top" — a technique that builds bricks sideways or downward to add detail on any surface, not just the top.
Common Wall Mistakes to Avoid
- Stacking straight vertical seams that split apart.
- Skipping plate reinforcement on tall walls.
- Building corners with a straight seam instead of overlapping bricks.
- Forcing pieces on an uneven baseplate.
> Key point: Stagger bricks, lock with plates, overlap corners, and use SNOT for facade detail.
Step 4: Nail Architectural Accuracy
Straight walls are the baseline. Accuracy is what makes a model convincing.
Get Proportions Right
Real buildings follow proportion rules. Windows sit at consistent heights. Floors match in height. Ground floors often stand taller than upper floors.
Measure in bricks and plates:
- One brick equals three plates. Use this to fine-tune floor heights.
- Keep window rows aligned across the facade.
- Match column spacing to window spacing for a balanced front.
Add Depth to Facades
Flat facades look like toys. Real buildings have depth. Add it:
- Recess the windows. Set window frames one plate back from the wall.
- Project the cornices. Extend the roofline out past the wall face.
- Vary the surface. Mix tiles, textured bricks, and SNOT panels across the facade.
Match the Roofline
Roofs make or break a building. Match the style to your reference:
- Flat roofs for modern buildings. Cap with tiles and add rooftop details.
- Pitched roofs for traditional homes. Use slopes at the correct angle.
- Domes and curves for landmarks. Build with slopes and curved bricks in sections.
Scale the Details
Small details at the right scale sell the whole model. Door handles, window mullions, and railings all read as "real" when scaled correctly. Oversized details make a build look cartoonish. When in doubt, go smaller.
> Key point: Match proportions, add facade depth, and scale details to keep the model believable.
Step 5: Finish and Display Your Model
A finished build deserves a proper finish and a proper home.
Clean Up the Surface
- Cap exposed studs with tiles for a smooth, finished look.
- Fill gaps in the roofline and corners.
- Check the model from every angle and fix any lifted pieces.
Add a Base
A base frames the building and lifts it above the shelf. Options:
- A tiled plaza. Set the building on a smooth tiled ground level.
- A landscaped plot. Add plants, paths, or a small yard.
- A street section. Include curbs, road, and a sidewalk for context.
Where to Display
- Home office. An architecture model makes a strong backdrop on video calls.
- Shelf at eye level. Best for detailed facades you want seen up close.
- Glass cabinet. Protects landmark builds and premium models from dust.
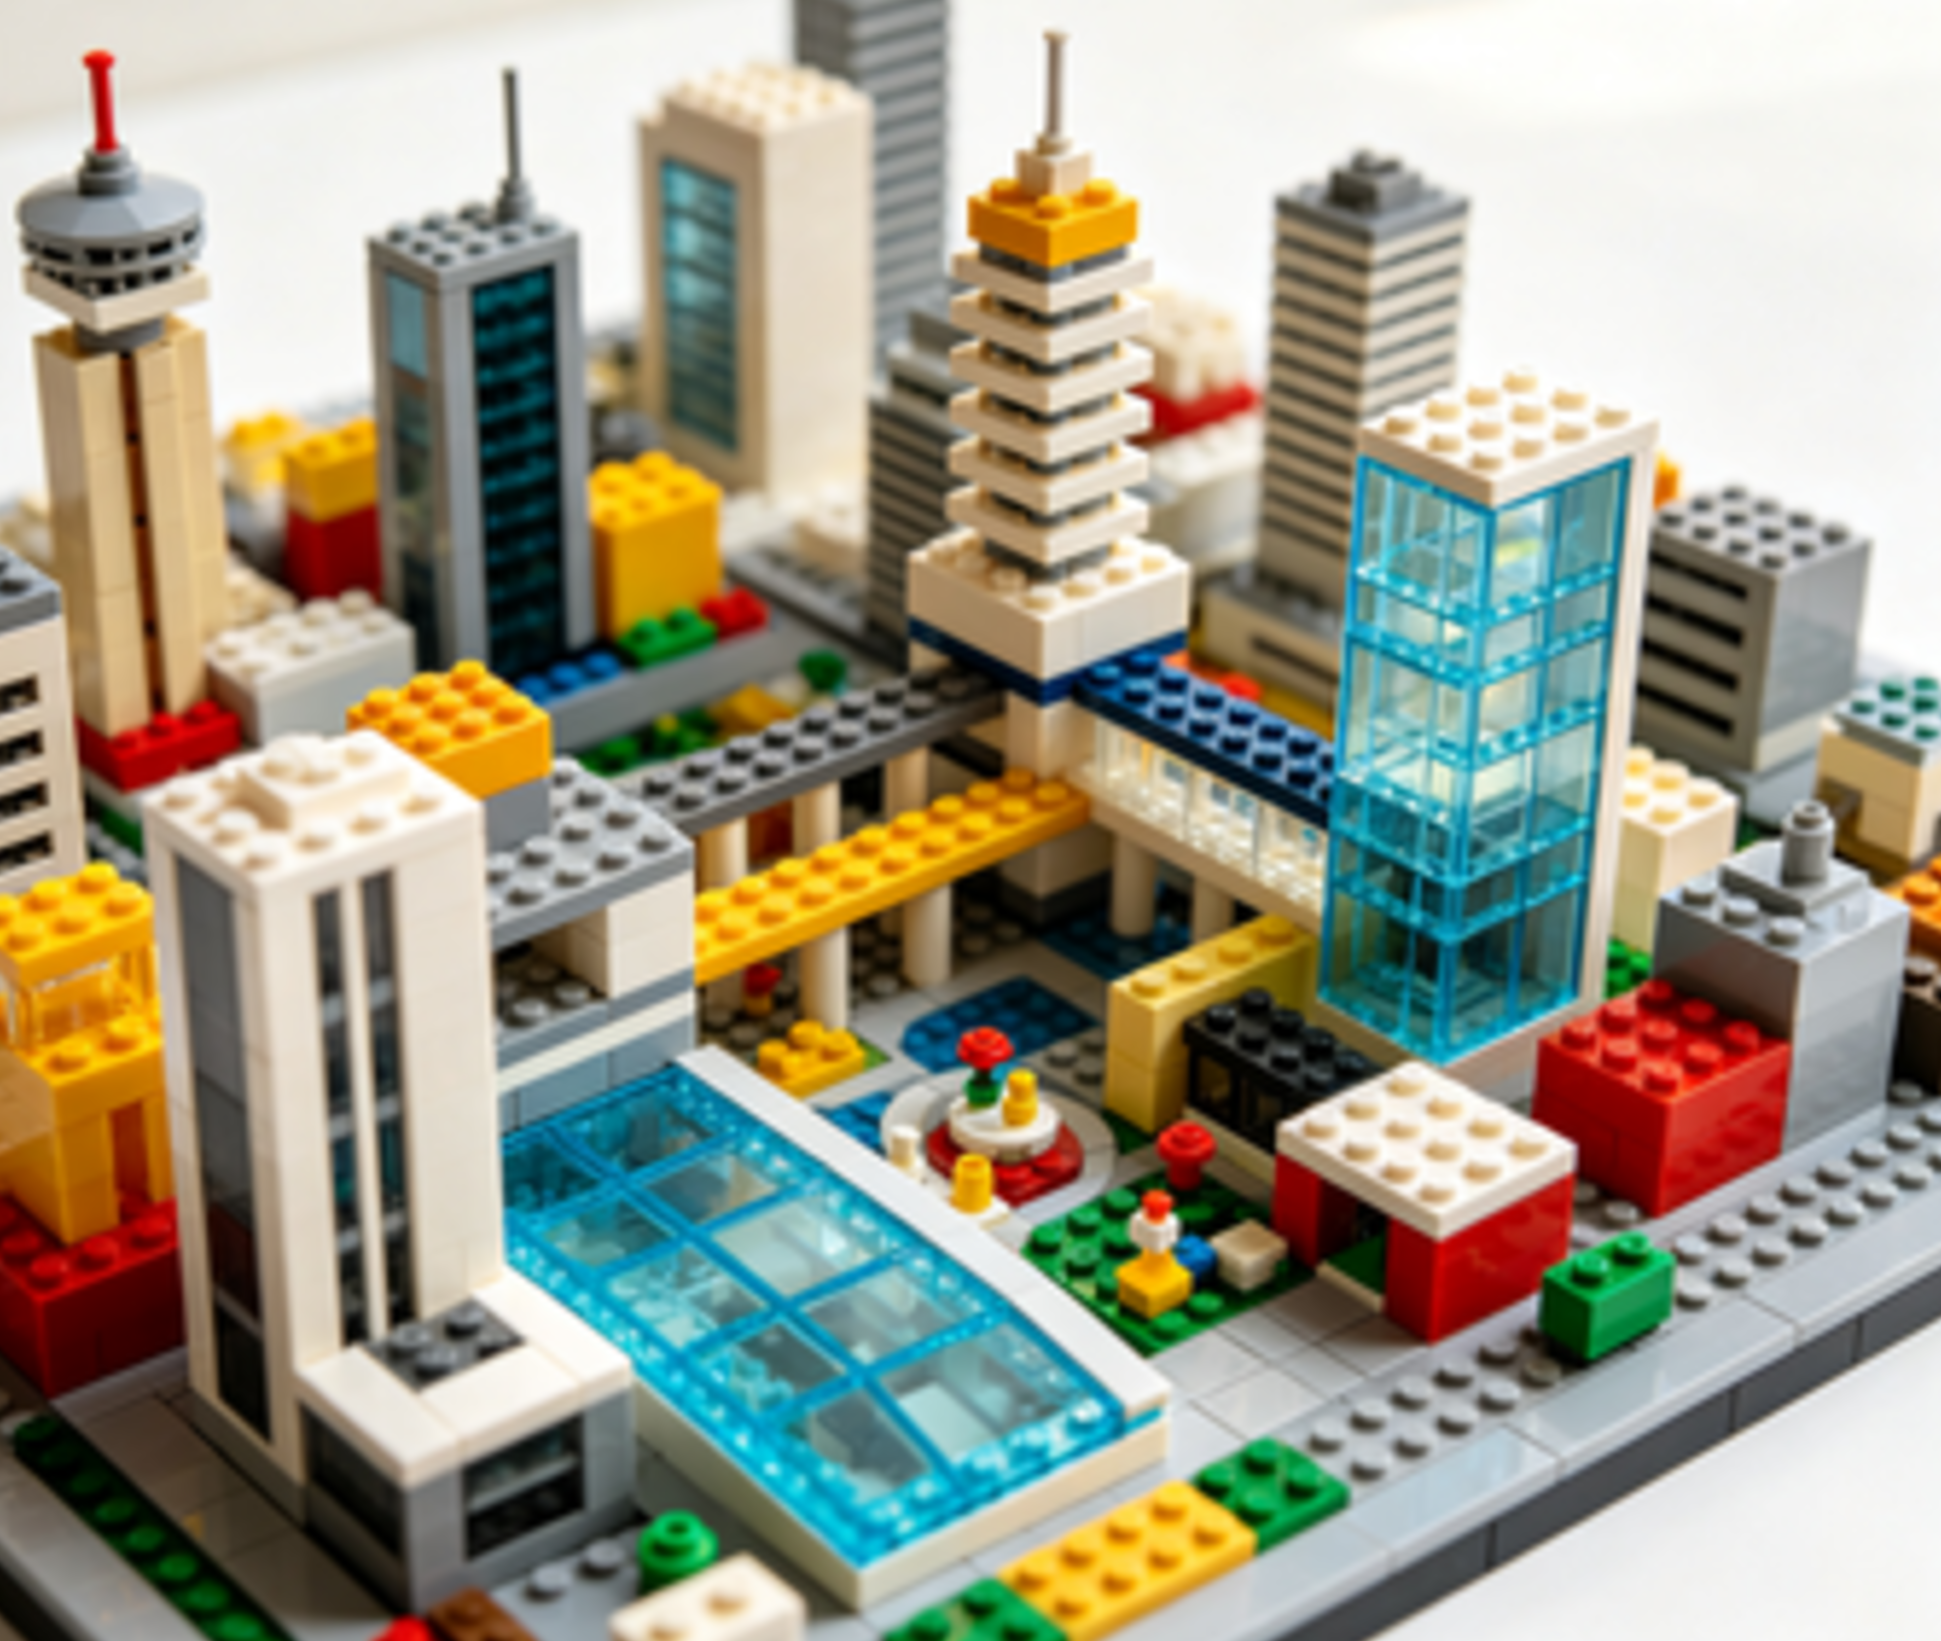
- Modular skyline shelf. Line up multiple buildings for a full cityscape.
Protect the Build
- Keep models out of direct sunlight to stop colors fading.
- Dust with a soft brush, not a cloth, to avoid knocking off small details.
- Set the model on a base plate for stability when moving it.
> Key point: Cap studs, add a base, display at eye level, and protect from sun and dust.
Step 6: Grow Your Architecture Collection
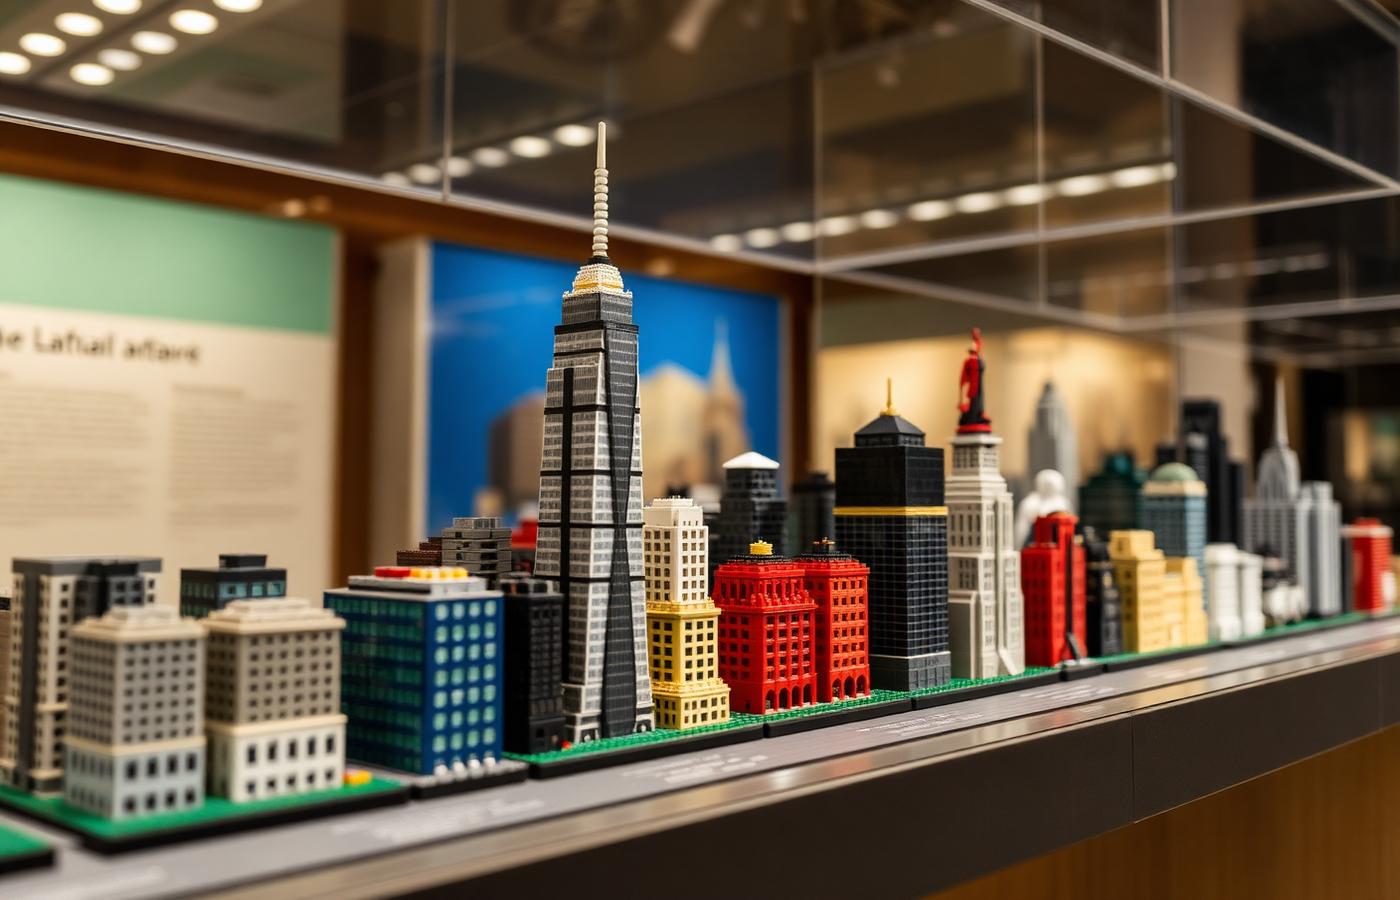
One building is a model. A collection is a city.
Build a Consistent Scale
Commit to one scale across your collection. Buildings at matching scale line up into a skyline. Mixed scales never look right together. Microscale is the easiest to collect — small footprints mean more buildings on one shelf.
Plan a Theme
A themed collection reads better than a random mix:
- A single city. Recreate landmarks from one skyline.
- An architectural era. Focus on Art Deco, modernist, or Gothic styles.
- A build style. All towers, all houses, or all civic buildings.
Design Your Own Structures
Once you've followed a few builds, design your own. This is where modular building blocks architecture gets truly creative. Start with a footprint, apply the wall techniques above, and build outward. Custom structures — your own designs rather than official instructions — are the heart of the building community.
The online community shares layouts, facade techniques, and full city builds. Post your models, join build challenges, and swap ideas with other architecture builders. Feedback sharpens your next build fast. Browse landmark reviews and buying guides in the BrickHobby shop and the Chinese Landmarks category for your next inspiration.
Track What You Own
Keep a simple list of buildings, scales, and part counts. It stops duplicate orders and shows the gaps in your skyline. Serious collectors track builds by date and theme to plan the next addition.
> Key point: Fix one scale, pick a theme, design your own structures, and share with the community.
Bringing It All Together
Building architecture from modular bricks comes down to a few clear moves:
- Plan your reference, scale, and footprint on paper.
- Choose a system with 8mm spacing and stock architectural parts.
- Build straight walls with staggered bricks, plates, and overlapped corners.
- Nail proportions and add facade depth for accuracy.
- Finish with tiles and a base, then display and protect.
- Grow a collection at one scale, then design your own.
Follow these steps and your buildings will read as real structures — not lopsided boxes. You'll build faster, straighter, and with the detail that separates a display piece from a pile of bricks.
Start with step one — pick a building and sketch its footprint — and let the rest follow.
Frequently Asked Questions
What scale is best for architecture models?
It depends on your goal. Microscale — where one brick equals a floor — is best for skylines, skyscrapers, and collections, since the small footprint fits many buildings on one shelf. Minifig scale suits detailed facades and interiors where you want figures and furniture. Pick one scale and stick with it across a project, since mixing scales in a single build breaks the sense of proportion.
How do I keep tall walls from bowing or falling apart?
Three techniques. First, stagger your bricks so no vertical seam runs straight up the wall — offset each row like real masonry. Second, run a plate across the wall every four to six rows to tie the bricks into one solid unit. Third, overlap the bricks at each corner so the two walls interlock. Together these keep tall walls straight and stable.
What extra parts do I need for architectural builds?
Beyond standard bricks, stock windows and doors in quantity, since facades use them fast. Add arches for doorways and curves, tiles for smooth floors and roofs, slopes for roofs and cornices, and SNOT (Studs Not On Top) bricks for building sideways detail. These parts are what standard sets usually skip, so buying them ahead prevents repeat orders mid-build.
Can I design my own building instead of following instructions?
Yes, and it's where the hobby gets most rewarding. Start with a footprint in stud units, choose a scale, and apply standard wall techniques — staggered bricks, plate reinforcement, overlapped corners. Custom designs built from your own plans are the core of the building community. Share your work in online forums and build challenges to get feedback and ideas for your next structure.
How do I make a flat facade look more realistic?
Add depth. Flat facades read as toys, while real buildings have layered surfaces. Recess your windows one plate back from the wall face. Project cornices and rooflines out past the wall. Vary the surface by mixing tiles, textured bricks, and sideways SNOT panels. Finally, scale your details small — oversized handles and railings make a build look cartoonish, while small ones read as real.
Keep reading
Architecture & Landmarks
The LTE Framework: Building Blocks of LTE Architecture for Serious MOC Builders
A three-layer planning system — Layers, Technique, Expression — for designing architectural brick MOCs that stand straight, read as real structures, and hold up under scrutiny.
Architecture & Landmarks
How to Recreate Famous Architectural Styles with Building Blocks
Every architectural style has a fingerprint. Gothic has the pointed arch. Art Deco has the stepped crown. Brutalism has the raw concrete slab.
Architecture & Landmarks
How to Plan and Build Impressive Architecture Models with Building Blocks
Real buildings follow rules. Proportion, symmetry, load paths, sightlines. When you recreate a structure in brick form, those same rules decide whether your model looks like a landmark or a lumpy box.